If you’ve been dreading this job, take a breath — figuring out how to remove a very old kitchen faucet is more about patience and the right two or three tools than about plumbing skill. The hard part is almost never the faucet itself; it’s the corroded mounting nuts hidden in the cramped, dark cavern behind your sink basin. Below I’ll walk you through exactly what to do, in order, including the “the nut won’t budge” scenarios that stall most first-timers, so you can pull that old faucet and set up the new one the same afternoon.
I’ve swapped out faucets that were original to 1980s kitchens — the kind where the nuts have practically fused to the shanks — so this guide is written around the failure points that actually happen, not a tidy version where everything spins off by hand.
What tools do I actually need to remove an old kitchen faucet?
You need a basin wrench, an adjustable wrench, a bucket, a flashlight or headlamp, and penetrating oil (like PB B’laster or WD-40) for the stuck nuts. That’s the core kit. For truly seized hardware, add an oscillating multi-tool or a mini hacksaw to cut the nuts off. Everything else is optional comfort.
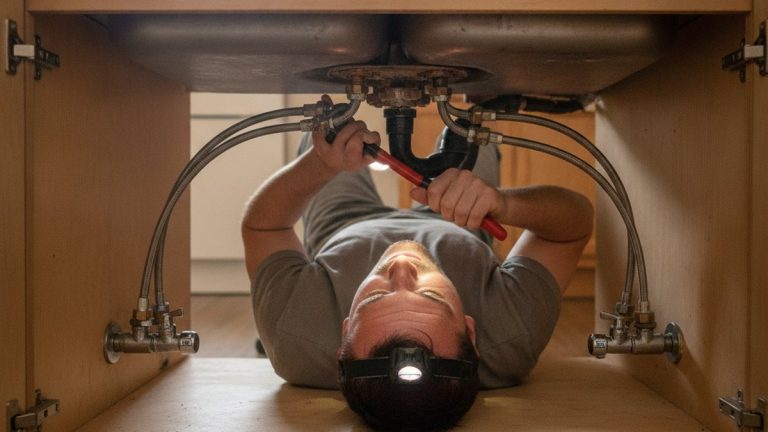
The single most important tool is the basin wrench. It’s a long-handled tool with a spring-loaded, swiveling jaw designed for exactly one miserable job: reaching up behind a sink to grab nuts your hand and a normal wrench can never touch. A $12 basin wrench turns an impossible contortion into a two-minute task. Don’t try to do this with pliers and stubbornness — you’ll skin your knuckles and give up.
- Basin wrench — for the mounting nuts up behind the sink deck ($10–$20).
- Adjustable wrench or channel-lock pliers — for the supply-line connections.
- Penetrating oil — soak rusted nuts and threads before turning.
- Bucket + rags/towels — the lines always hold leftover water.
- Flashlight or headlamp — the cabinet under a sink is pitch black.
- Oscillating multi-tool or mini hacksaw — the “nuclear option” for nuts that will not move.
- Putty knife and rag — to break the old caulk/putty seal and clean the deck.
How do I turn off the water and disconnect the supply lines?
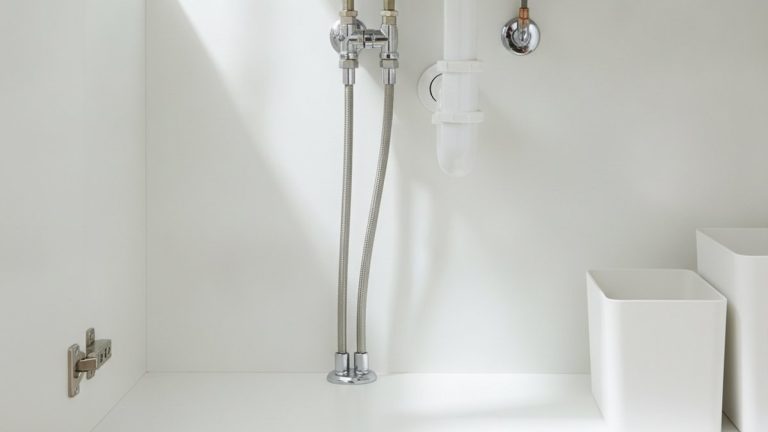
Reach under the sink and turn both shutoff valves (the small oval or football-shaped handles on the hot and cold supply lines) fully clockwise until they stop. Then open the faucet at the top to release pressure and drain leftover water. Place a bucket under the connections before you disconnect anything.
Those two shutoff valves feed your faucet — one hot, one cold. If your kitchen doesn’t have them, or they’re so old they won’t seal, you’ll need to shut off the water at your home’s main valve instead. Once the water is off, turn the faucet handle on. If water keeps flowing, the valve isn’t fully closed; if it trickles and stops, you’re good.
Now disconnect the supply lines. Use your adjustable wrench to loosen the nut where each line meets the shutoff valve (or the faucet’s supply tubes). Expect a little water to spill — that’s what the bucket is for. If your existing lines are old braided or copper lines, this is the perfect moment to replace them too, since a new faucet ships without them. It’s worth understanding a couple of quirks first, like whether faucet supply lines can be too long for your cabinet, so you buy the right length instead of coiling excess behind the valve.
How do I remove the mounting nuts when they’re rusted solid?
Spray the rusted mounting nuts generously with penetrating oil, wait 15–20 minutes, then grip them with a basin wrench and turn counterclockwise (from your view underneath, looking up). If they still won’t move, reapply oil, tap the nut with the wrench handle to shock the rust, and try again. If it’s truly seized, cut the nut off with an oscillating tool — that’s a normal, accepted last resort on old faucets.
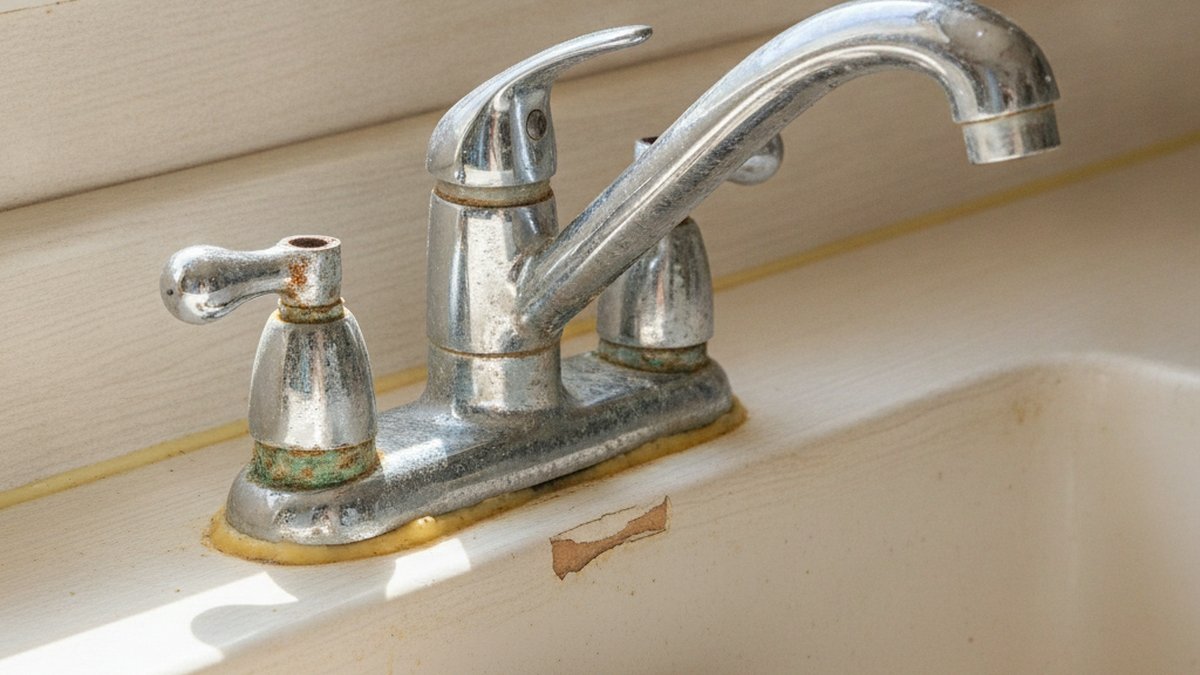
This is the step that defines the whole job. The mounting nuts sit up under the sink deck, threaded onto the faucet’s shanks, clamping the faucet down against the countertop. On a very old faucet these are often plastic that’s gone brittle, or metal that’s corroded into the threads. Here’s the escalation ladder, from gentle to aggressive:
- Soak and wait. Penetrating oil needs time to wick into the threads — 15 minutes minimum, longer for heavy rust. Don’t rush this.
- Shock it. Rap the nut sharply a few times with a wrench or the butt of a screwdriver. Vibration cracks the rust bond.
- Get leverage. The basin wrench’s long handle multiplies your force. Make sure the jaw is biting the flats of the nut, not slipping on rounded corners.
- Add heat (carefully). If the shank is metal, a little heat from a hair dryer can expand the nut enough to break it free. Skip open flame near plastic lines.
- Cut it off. When a nut is fused beyond hope, an oscillating multi-tool with a metal blade slices through it in seconds. You’re scrapping the old faucet anyway, so cutting the shank or nut costs you nothing.
Once every mounting nut is off, the faucet is only held by decades of caulk, plumber’s putty, and grime. Break that seal with a putty knife, and the faucet will lift straight up out of the deck. If it resists, run the putty knife around the base again — you’ve almost certainly missed a spot of hardened putty.
How long does it take, and how much does it cost to remove an old kitchen faucet?
Plan on 45–90 minutes for removal alone if nuts are stuck, or as little as 20 minutes if the hardware cooperates. Tool cost is $10–$30 if you need a basin wrench and penetrating oil; if you already own them, removal is essentially free. A plumber typically charges $150–$350 for the full remove-and-replace, most of which is labor.
The honest variable is corrosion. A faucet from five years ago comes off in minutes. A genuinely “very old” faucet — 20, 30, 40 years in a hard-water home — is where the time and swearing come from. Here’s a realistic breakdown of the scenarios:
| Situation | Difficulty | Time estimate | Extra tools likely needed |
|---|---|---|---|
| Faucet under ~10 years, working shutoffs | Easy | 20–30 min | Basin wrench, adjustable wrench |
| Old faucet, lightly corroded nuts | Moderate | 45–60 min | + Penetrating oil |
| Very old faucet, rusted/seized nuts | Hard | 60–90 min | + Oscillating tool / hacksaw |
| No shutoff valves, or valves won’t close | Hard | 90+ min | + Main shutoff, possible valve replacement |
Do I have to replace the whole faucet, or can I just fix what’s wrong?
If the faucet body is sound and only a part has failed — a dripping stem, a worn sprayer head, a leaky base — you can often repair it instead of removing the whole unit. Full removal only makes sense when the faucet is cracked, hopelessly corroded, badly outdated, or you simply want a new look. Repair is cheaper and faster when the bones are good.
Before you commit to a full teardown, it’s worth diagnosing what’s actually wrong. A constant drip from the spout is usually an internal cartridge or stem issue, not a reason to scrap the faucet — that’s the territory covered in replacing a faucet stem when your tap keeps dripping. And if only the pull-down spray head is the problem — weak spray, sticky button, cracked hose connection — you can handle a pull-down kitchen faucet sprayer head replacement without touching the mounting nuts at all. That said, on a very old faucet, replacement parts are often discontinued and the cost of chasing them exceeds the price of a new faucet — so removal is frequently the smarter call.
If you are replacing it, take a minute to think about what will actually fit and serve your kitchen better than the outgoing model. Faucet designs have changed a lot; features like pull-down sprayers, single-hole mounts, and higher spouts weren’t common on older units. It’s genuinely useful to understand what makes a kitchen faucet unique and how to match one to your sink’s hole configuration before you buy — measuring your existing deck holes now saves a return trip later.
What should I check before installing the new faucet?
Before mounting anything new, clean the sink deck completely, count and measure your mounting holes, and confirm the new faucet’s configuration matches (single-hole vs. 3-hole/8-inch spread). Also inspect the shutoff valves and supply lines — if they’re old and stiff, replace them now while everything is apart.
The empty deck is your one easy chance to scrape off every trace of old putty, caulk, and mineral crust. A clean, flat surface is what lets the new faucet’s gasket seal properly. Skip this and you’ll get a wobbly faucet or a slow leak around the base within a month.
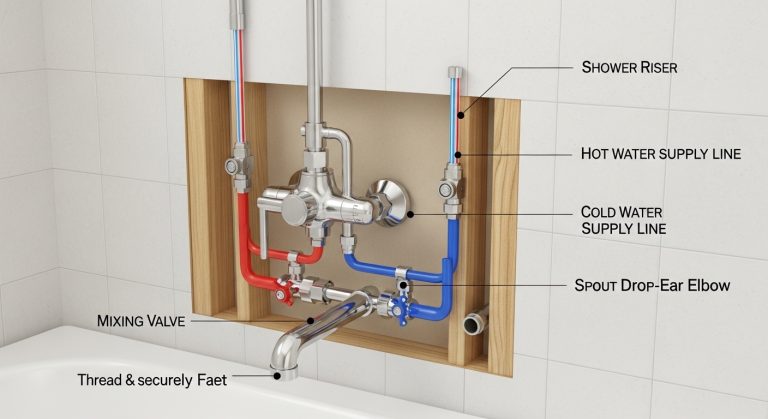
Count your holes. Old kitchens commonly have three or four holes (faucet, plus a separate sprayer or soap dispenser). Many modern faucets are single-hole and come with a deck plate to cover the extras. If your holes don’t line up with the new faucet, a deck plate or an escutcheon usually bridges the gap — but you want to know that before you’re mid-install. If your project extends beyond the kitchen sink — say you’re also tackling a tub — the same shutoff-first, disconnect-carefully logic applies, and our guide on how to replace bathtub faucet plumbing without flooding the bathroom walks through that parallel job.
What are the most common mistakes when removing an old faucet?
The biggest mistakes are forgetting to shut off the water, rounding off rusted nuts by forcing them dry instead of soaking them first, and losing patience and yanking on lines that won’t budge. Each one turns a routine job into a mess. Slow, deliberate steps beat brute force every time.
- Not opening the faucet after shutting off the valves — leaves the line pressurized and gives you a face full of water.
- Skipping the penetrating oil — dry-forcing a rusted nut rounds off its corners, and now you have to cut it.
- No bucket or towels — even “empty” lines hold cupfuls of water that pour into the cabinet.
- Using pliers instead of a basin wrench — you can’t get the angle or grip, and you’ll strip the nut.
- Reusing old, stiff supply lines — they’re the most likely thing to leak after a new install; replace them.
- Not photographing the old setup — a quick phone photo of the connections saves confusion during reinstall.
FAQ
Can I remove a very old kitchen faucet without a basin wrench?
Technically yes, but it’s brutal and often not worth it. Some faucets have accessible nuts you can reach with channel-lock pliers, but most sit deep behind the sink where only a basin wrench (or a socket on a long extension) can reach. For $12, a basin wrench turns a knuckle-shredding fight into a quick job — buy or borrow one.
What do I do if the mounting nut is completely rusted and won’t turn at all?
Soak it in penetrating oil for 20 minutes, tap it to break the rust bond, and try again with the basin wrench. If it still won’t move, cut it off with an oscillating multi-tool or mini hacksaw. Since you’re throwing the old faucet away, cutting through a seized nut or shank is a completely normal, damage-free solution.
Should I turn off the water at the main or just under the sink?
Use the under-sink shutoff valves if you have them and they close fully — it keeps water running to the rest of the house. Only shut off the main if you lack under-sink valves or they leak past when closed. Always open the faucet afterward to confirm the water is truly off before disconnecting anything.
Do I need to replace the shutoff valves and supply lines too?
Not always, but it’s smart on a very old setup. If the valves turn stiffly, drip, or won’t fully close, replace them while everything is apart — it’s far easier now than later. New braided stainless supply lines are inexpensive and prevent the most common post-install leaks, so most pros swap them as a matter of course.
How do I know if my problem needs a full faucet removal or just a repair?
If the faucet body is solid and only one function fails — a drip, a weak sprayer, a loose handle — repair it. If the faucet is cracked, badly corroded, leaking at the base, or parts are discontinued, remove and replace it. As a rule of thumb, when repair parts cost more than about half the price of a new faucet, replacement is the better value.
Is removing an old kitchen faucet a job I can really do myself?
Yes — it’s one of the most DIY-friendly plumbing jobs, with no soldering or pipe cutting required for a standard swap. The only genuine obstacle is stuck hardware, and the oil-soak-and-cut method handles that. If you hit a corroded main line or a valve that won’t shut off, that’s the point to call a plumber; otherwise, this is well within a confident homeowner’s reach.
A note on trust, testing, and doing this right
Author note: This guide was written by the faucitta fixtures team, drawing on hands-on faucet removals and installations across kitchens with hardware ranging from brand-new to four decades old. We write these walkthroughs the way we’d explain the job to a friend standing in their kitchen — practical, in order, and honest about where it gets hard.
Why you can trust faucitta: We specialize exclusively in faucets, sinks, and bathroom fixtures — that focus is the whole point of this site. Every technique here follows standard plumbing practice, and the faucets we recommend and sell meet recognized performance and safety standards (such as ANSI/NSF and lead-free compliance under the U.S. Safe Drinking Water Act), and ship with manufacturer warranties. When you install a replacement, always register the warranty and keep the paperwork — a good faucet is backed for years, and that coverage is only valid if the unit is installed correctly, which is exactly why getting the old one out cleanly matters.