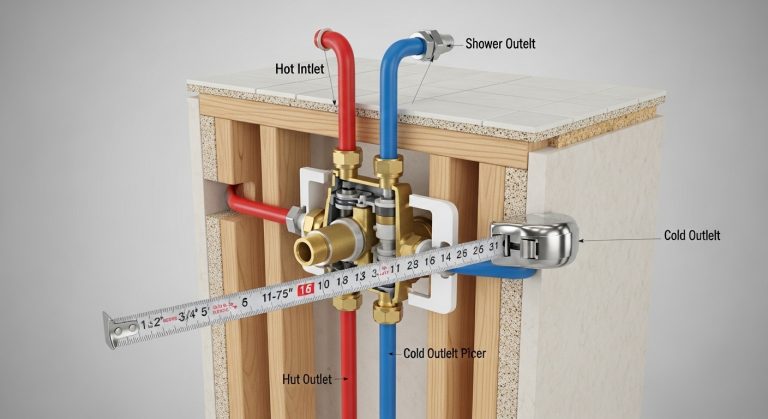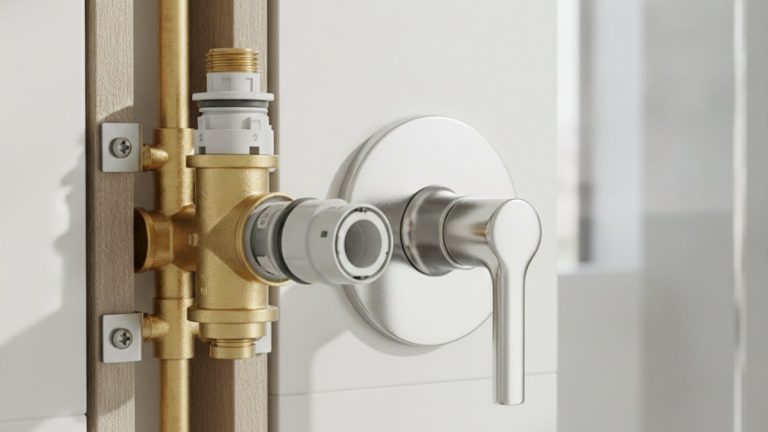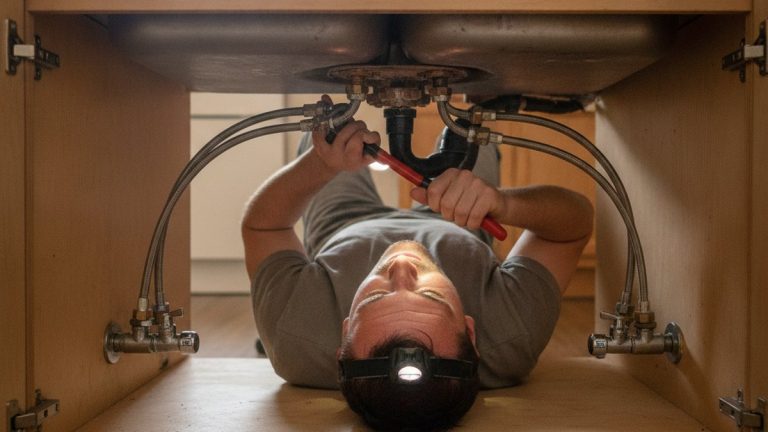
If you’ve been staring at your range wondering how to install a pot filler with PEX without turning your kitchen into a demolition zone, here’s the good news: PEX makes this one of the friendlier DIY plumbing projects out there. Because PEX (cross-linked polyethylene) is flexible, you can often fish a single continuous run from your cold-water supply up to the pot filler location with only one or two small access holes in the drywall — no soldering torch, no dozens of soldered elbows, and no scorched studs. This guide walks you through the whole thing: where to tap in, how to anchor the connection so it doesn’t wobble every time you swing the arm, which fittings actually matter, and how to test it so you never get a hidden leak behind your backsplash.
What Exactly Is a Pot Filler, and Why Does PEX Make Installation Easier?
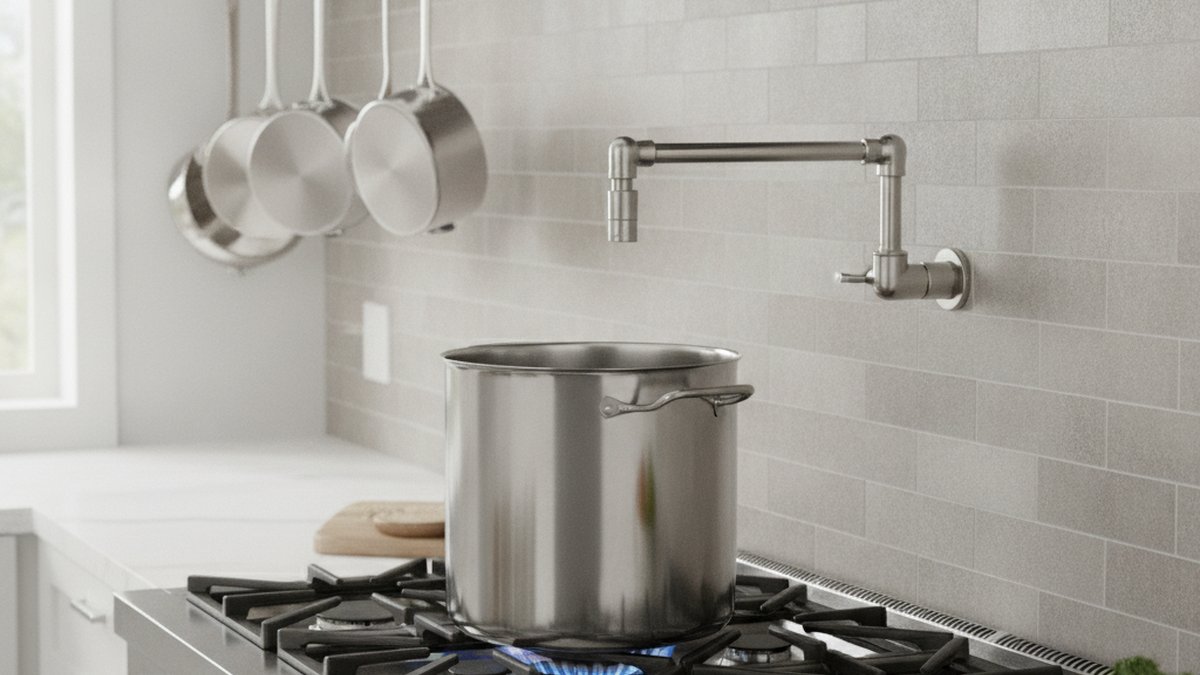
A pot filler is a long, articulated cold-water faucet mounted on the wall (or occasionally the deck) right above your cooktop, so you can fill big pots where they sit instead of hauling gallons of water from the sink. It has a double-jointed arm that folds flat against the wall when you’re not using it. PEX makes installing one easier for three concrete reasons: it flexes around framing so you rarely need to drill through studs in a straight shot, it uses push-to-connect or crimp fittings instead of solder, and a single length can span most of the run without a joint hiding inside the wall.
Most pot fillers are cold-water only — that’s by design. You’re filling pots that you’re about to heat anyway, so there’s no reason to run a hot line, and cold-only means half the plumbing. The faucet body typically terminates in a 1/2-inch NPT (National Pipe Thread) or 1/2-inch IPS female or male inlet, which is exactly the size PEX transitions to cleanly. If you’re still deciding whether to buy the faucet on its own or as a matched set with your main tap, it’s worth reading our take on whether you really need a pot filler and faucet set or can just buy them separately before you order parts.
What Tools and Materials Do You Actually Need for a PEX Pot Filler Install?
You need a way to cut and join PEX, a way to tap the existing line, and the transition fitting that mates PEX to the faucet’s threads. That’s the core of it. Here’s the realistic shopping and tool list for a standard wall-mount pot filler behind a stud-framed wall.
- 1/2-inch PEX tubing — PEX-A or PEX-B both work fine; PEX-A is a bit more forgiving to expand and bend.
- Connection fittings — either a PEX crimp tool with copper crimp rings, or push-to-connect fittings (SharkBite-style) if you want zero special tools.
- A PEX-to-female-NPT transition fitting (usually 1/2″ PEX × 1/2″ FNPT) to meet the pot filler’s threaded stub-out.
- A drop-ear (winged) elbow or a mounting backer block to anchor the connection rigidly inside the wall — this is the single most-skipped, most-important part.
- A tee fitting to branch off your existing cold line, plus a shutoff valve for that branch.
- PEX tubing cutter, tape measure, stud finder, drill, PTFE thread-seal tape, and a small level.
Where Should You Tap Into the Water Line for a Pot Filler?
Tap into the nearest accessible cold-water line — most people branch off the cold supply that already feeds the kitchen sink, since it’s the closest cold source and already sized correctly. You cut in a tee, add a small shutoff valve on the new branch, and run your PEX from there up to the cooktop wall. Never tap the hot line; a pot filler is cold-only.
The ideal tap point is wherever you can reach the cold line with the least drywall damage — often under the sink cabinet, in a basement or crawlspace directly below the kitchen, or in an unfinished ceiling on the floor below. Adding a dedicated 1/4-turn ball valve on the branch is smart: it lets you shut off just the pot filler for future service without killing water to the whole kitchen. If your home runs on well water or has high line pressure, keep in mind that a pot filler adds another potential leak point — the same low-pressure and pressure diagnostics we cover for a touchless faucet with low water pressure apply to the branch you’re building here.
How Do You Route PEX Up the Wall and Mount the Pot Filler Solidly?
Route the PEX up the wall cavity to a point 20–24 inches above the finished cooktop surface, then anchor the end to a fixed backer block or drop-ear elbow so the faucet doesn’t flex the tubing every time you use it. The mounting height matters: too low and tall stockpots won’t fit under the spout; too high and you splash. Twenty to twenty-four inches above the cooktop, centered over the back burners, is the sweet spot for most ranges.
Here’s the sequence that keeps this clean:
- Locate the studs and decide your exact mounting point over the cooktop centerline. Cut a small drywall access hole there.
- Install a backer block — a piece of 2×6 or 2×8 lumber screwed between the studs behind the mounting point. This is what the faucet actually bolts into. PEX alone can never support a swinging pot filler arm; the block does the work.
- Fish the PEX from your tap point up the cavity to the block. Because PEX bends, you can usually snake it past fire blocking through a single 3/4-inch hole rather than opening a channel.
- Mount a drop-ear elbow (with its screw wings fastened to the backer block) or bring your PEX-to-NPT transition fitting to the block face so the threaded connection is held rigid.
- Thread the pot filler’s inlet onto that fixed fitting using PTFE tape on the male threads. Snug it, don’t gorilla it — brass strips.
The rigid anchor point is the difference between a pot filler that feels planted for 15 years and one that develops a hidden drip because the tubing got worked back and forth. If you’ve done other wall-mount valve work — say, following our guide on how to install a shower handle valve without ripping open the wall — the backer-block principle is identical: the fixture loads the wood, never the supply line.
PEX vs. Copper vs. Braided Line for a Pot Filler: Which Should You Use?
PEX is the best all-around choice for a DIY pot filler install because it’s flexible, freeze-tolerant, and joins without a torch; copper is more rigid and traditional but requires soldering skill; braided flex line is only for the final short connection, never the in-wall run. Here’s how they stack up for this specific job.
| Factor | PEX | Copper | Braided flex line |
|---|---|---|---|
| In-wall run | Excellent — one flexible run, few joints | Good but rigid, many soldered elbows | Not code-approved for concealed runs |
| Skill needed | Low (crimp or push-fit) | High (soldering) | Very low |
| Tools | Crimp tool or none (push-fit) | Torch, flux, solder | Just a wrench |
| Freeze resistance | High — expands slightly | Low — can split | Moderate |
| Best use here | Entire supply run | Exposed runs, purists | Only if faucet ships with one for the final link |
The practical takeaway: run PEX all the way up the wall, transition to the threaded connection at the anchored block, and only use a braided or supplied flex connector if your specific faucet is designed to receive one at the stub-out. Don’t bury a braided line inside the wall — most plumbing codes prohibit concealed flexible connectors because they can’t be inspected or replaced without opening the wall.
How Do You Pressure-Test and Check for Leaks Before Closing the Wall?
Turn the water back on slowly, open the pot filler fully to purge air, then close both of the pot filler’s valves and inspect every joint — the tee, the shutoff, the transition fitting, and the faucet inlet — for at least 15–20 minutes before you patch the drywall. A pot filler typically has two shutoff valves on the arm itself (one at the wall, one at the spout head), which is a safety feature; test both.
Watch for weeping, not just spraying. A crimp ring that’s slightly off can seep a drop every few minutes — enough to rot a wall over months but easy to miss in a 30-second glance. Wrap a dry paper towel around each joint and come back after 20 minutes; any dampness tells you exactly where to re-crimp or re-seat. Only once every joint reads bone-dry under full house pressure should you close the access holes. This patience is the same discipline that separates a clean job from a callback, whether you’re setting a pot filler or tackling a full bathroom faucet install without calling a plumber.
How Long Does It Take, and When Should You Call a Pro?
A confident DIYer with basement or crawlspace access to the cold line can install a pot filler with PEX in 3–5 hours; if you have to open finished walls, fish through insulation, or you’re not comfortable cutting into a live water line, budget a full day or hire a plumber for the rough-in. The faucet mounting itself is easy — it’s the branch connection and in-wall routing that eat the time.
Call a professional if any of these apply: your cold line is buried behind tile or in a slab, your local code requires permits and inspection for new supply branches (many jurisdictions do), or you’d have to work in a wall shared with electrical. There’s no shame in having a plumber do just the rough-in and connection while you handle mounting the trim — that split often costs far less than a full-service call and still saves you money versus a leak repair later.
A Note From Our Team
This guide was written by the faucitta fixtures team, drawing on hands-on pot filler and supply-line installations across gas, electric, and induction cooktop setups. faucitta specializes exclusively in faucets, showers, and bath fixtures — we don’t dabble in general renovation, which means the advice here comes from people who fit, test, and warranty these products for a living. Every fixture we recommend is evaluated against standard residential supply pressures (typically 40–80 psi) and the relevant plumbing thread and low-lead standards (such as NSF/ANSI 61 and the lead-free requirements under the U.S. Safe Drinking Water Act). Always follow your local plumbing code and your faucet manufacturer’s warranty instructions — improper installation, over-tightening brass threads, or concealing non-approved connectors can void coverage.
FAQ
Can I connect PEX directly to a pot filler’s threaded inlet?
Not directly — PEX is a barbed/push system, and a pot filler has NPT or IPS threads, so you need a PEX-to-female-NPT (or male-NPT) transition fitting between them. Wrap PTFE tape on the male threads, hand-tighten, then give it a modest turn with a wrench. The transition fitting should be anchored to a backer block so the joint stays rigid.
What size PEX do I need for a pot filler?
Use 1/2-inch PEX. Pot fillers have a 1/2-inch inlet and don’t need high flow — they trade a slower fill for reach and convenience — so 1/2-inch tubing matches the faucet and your existing branch line perfectly. Going larger adds cost with no benefit; going smaller chokes the flow.
Do I need a shutoff valve for the pot filler branch?
Yes, add a 1/4-turn ball valve on the new branch where it tees off the cold line. It lets you isolate the pot filler for repairs or winterizing without shutting water to the whole kitchen. Combined with the two valves built into most pot filler arms, that’s a well-protected setup.
How high above the stove should a pot filler go?
Mount the faucet body so the spout sits about 20–24 inches above the cooktop surface, centered over the back burners. That clears a tall stockpot while keeping the fill height low enough to avoid splashing. Confirm the reach of your specific arm so the spout actually swings over your largest burner.
Will PEX freeze and burst behind the wall in a cold climate?
PEX resists freeze damage far better than copper because it expands slightly instead of splitting, but it isn’t freeze-proof. On an exterior wall in a cold region, keep the tubing on the warm (interior) side of the insulation and consider adding a shutoff so you can drain the line. If the pot filler sits on an outside wall, treat it with the same caution you’d give any exterior supply — the same leak-prevention thinking behind choosing a good outdoor faucet hose connector that won’t leak.