Getting the rough-in right is the whole ballgame when you’re installing a Delta shower valve rough in, because everything you do afterward — tile, trim, handle, showerhead — depends on the valve sitting at the correct depth, height, and rotation inside the wall. Delta’s Multichoice Universal valve (the R10000 series) is forgiving in a lot of ways, but it is unforgiving about one thing: how far the valve body sits behind your finished wall surface. Set it too deep and the trim won’t reach; set it too shallow and the escutcheon won’t seat flat. This guide walks through the numbers, the common mistakes, and how to check your work before the drywall or backer board goes up.
What exactly is a shower valve “rough-in,” and why does it matter so much?
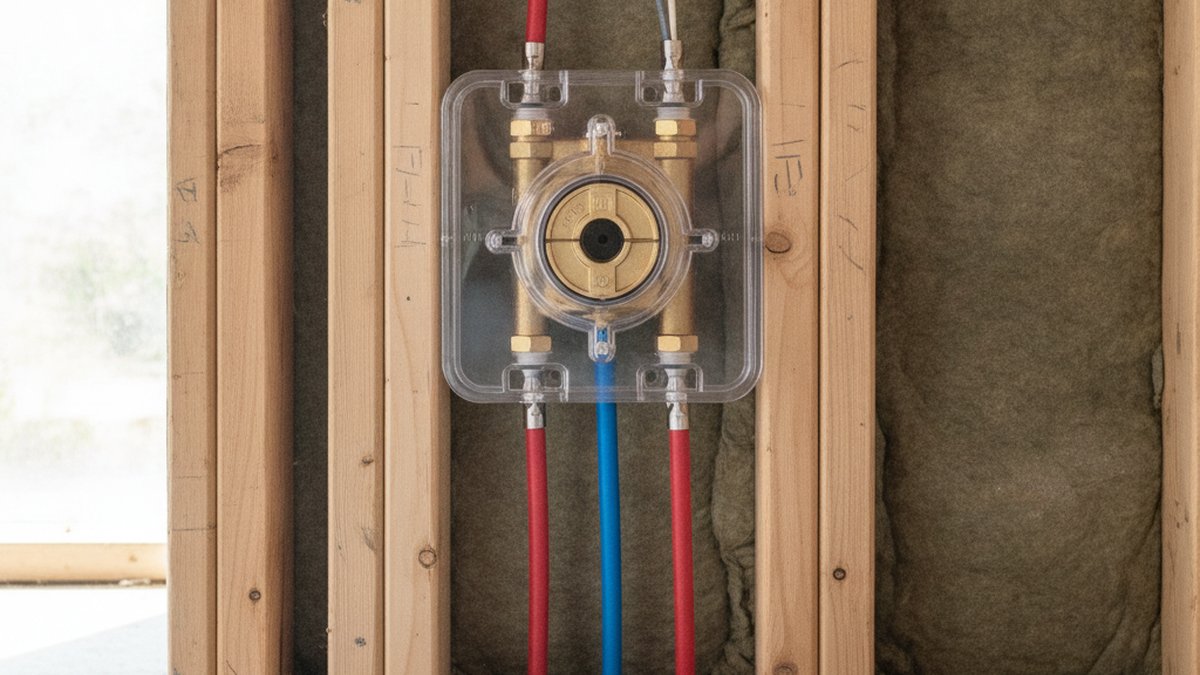
The rough-in is the part of the installation that happens inside the wall, before it’s closed up — the valve body, the water supply connections, the shower and tub drops, and the mounting bracket. It matters because it’s permanent. Once the tile is set, the only thing you can adjust is the trim (handle, escutcheon plate, cartridge). If the valve body itself is at the wrong depth or crooked, your only fix is opening the wall back up.
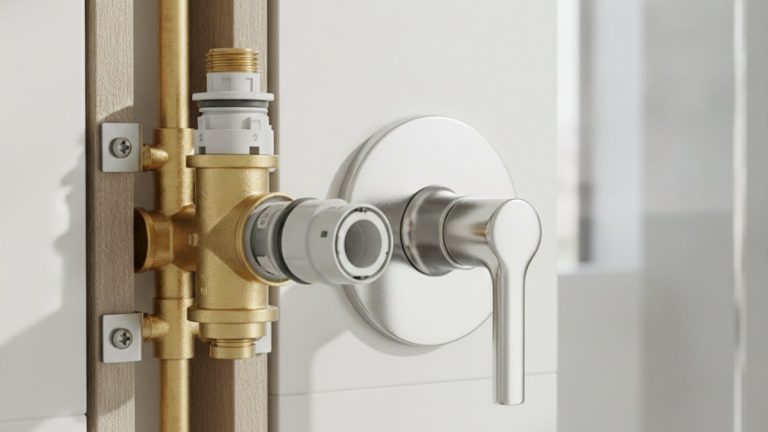
Delta separates the job into two purchases on purpose: the rough-in valve (the R10000-UNBX, which ships with no trim) and the trim kit (handle, spout, showerhead — sold separately by finish and style). This is the same valve-plus-trim logic you’ll see across the industry; if you want the full breakdown of why brands split it this way, our guide on what a valve and trim kit is and whether you need both explains it in plain terms. The upshot: you rough in the universal valve now, and you can pick or change the finished look years later without touching the plumbing.
How deep should a Delta shower valve sit behind the finished wall?
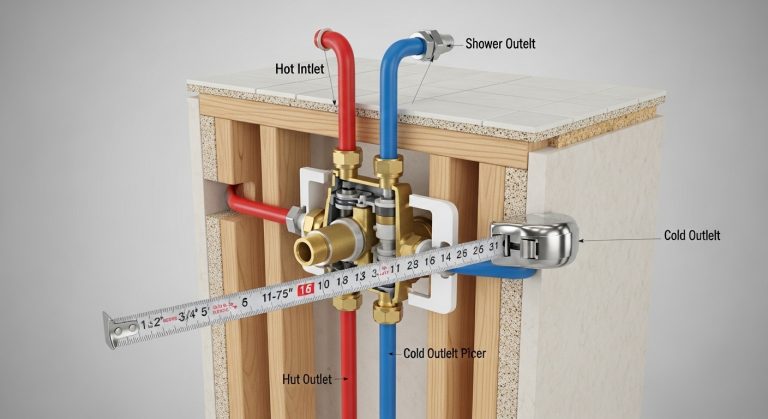
The valve should sit so your finished wall surface — the face of the tile, not the backer board — lands between the two marks molded into the plastic plaster guard. On the Delta Multichoice valve, the guard is printed with a range, and the finished wall face needs to fall inside that window. In practical numbers, that usually puts the brass valve body about 2 to 3 inches behind the face of the finished tile, but you should trust the plaster-ground marks on your specific valve over any generic number.
Here’s the mistake almost everyone makes the first time: they set the valve flush with the studs and forget to account for backer board plus thinset plus tile. That stack can easily add 5/8″ cement board + 1/8″ thinset + 3/8″ tile = over an inch of buildout. If you mounted to the front of the stud without planning for that, your valve ends up too shallow and the trim won’t sit flush. Always dry-stack a scrap of your actual backer board and tile against the studs to visualize the true finished plane before you set valve depth.
What if I set the Delta valve too deep or too shallow?
If the valve is too deep, the Multichoice trim sleeve and handle may not reach, and the escutcheon will float off the wall with an ugly gap. If it’s too shallow, the guts stick out and the escutcheon can’t seat flat against the tile. Delta does sell a trim extension kit (the RP53879 deep rough-in extension) that buys you extra reach for valves set too deep — but that’s a rescue, not a plan. It’s far cheaper and cleaner to nail the depth during rough-in than to shop for extension kits after the tile is grouted.
How high off the floor do you set the valve?
For a standard stand-up shower, center the valve about 45 to 48 inches off the finished floor; for a tub/shower combo, set the valve lower — around 28 inches — because you also need the tub spout drop at roughly 4 inches above the tub rim. These are comfortable, code-friendly heights for most adults, but they’re guidelines, not gospel. If the primary users are tall, nudge the valve up an inch or two; the whole point of doing your own rough-in is that you can tailor it.
Here’s a quick reference for the vertical layout of a typical Delta shower rough-in:
| Component | Typical height above finished floor | Notes |
|---|---|---|
| Tub spout drop (combo only) | ~4″ above tub rim | Skip for shower-only |
| Shower valve center — tub/shower combo | ~28″ | Reachable from inside or outside the tub |
| Shower valve center — stand-up shower | 45″–48″ | Set higher for taller users |
| Showerhead drop elbow | 78″–80″ | Above the tallest user’s head |
| Optional handheld/slide bar supply | ~48″ | If adding a diverter or second outlet |
What tools and parts do you actually need before you start?
You need the Delta rough-in valve, the right supply pipe and fittings for your home, a way to secure the valve to a brace, and the tools to make watertight connections. Buying everything in one trip saves you the mid-job hardware-store run that always seems to happen at 4:55 pm on a Sunday.
- Delta R10000-UNBX Multichoice Universal rough-in valve (universal means it accepts most Delta trims later).
- Supply pipe: ½” PEX with a crimp/cinch tool, ½” copper with a torch and solder, or CPVC — match what’s already in your walls.
- A valve brace or 2×4 blocking screwed between studs to hold the valve rock-solid.
- Threaded adapters or press fittings for the ½” NPT inlets and the shower/tub outlets.
- Teflon tape or pipe dope, a level, a tape measure, and a drill.
- The plaster guard — it comes on the valve; do not throw it away, it’s your depth gauge and it protects the cartridge from thinset.
A note on the cartridge: the R10000 rough-in doesn’t include the cartridge in some SKUs — the cartridge often comes with the trim kit. Check both boxes before you pressure-test. If you’re new to how these Delta cartridges behave, our troubleshooting piece on why a Delta faucet loses water pressure is a useful primer on how debris and cartridge seating affect flow — the same principles apply inside a shower valve.
How do you actually mount and plumb the valve, step by step?
Mount the valve to solid blocking at the right height and depth, connect hot to the left inlet and cold to the right, run your shower outlet up and (if a combo) your tub outlet down, then cap and pressure-test before you close the wall. Here’s the sequence that keeps you out of trouble:
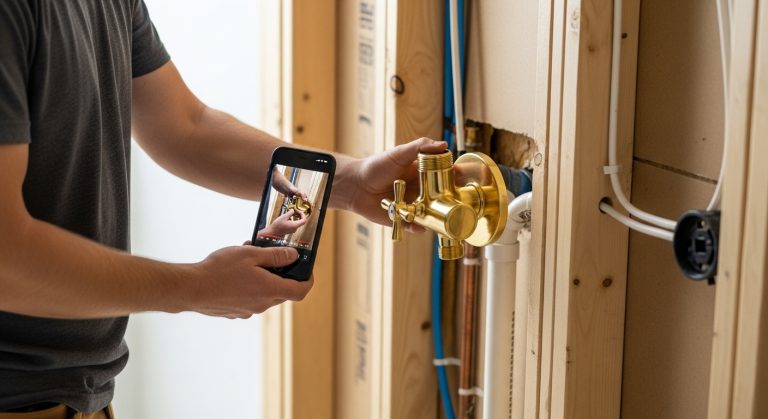
- Install blocking. Screw a 2×4 horizontally between the studs at your target valve height, or use a metal valve bracket. The valve must not flex when you push a handle later.
- Set the depth. Hold the valve against your mock-up of the finished wall and confirm the finished face lands within the plaster-guard marks. Fasten the valve to the blocking.
- Connect the supplies. Hot to the left (marked H), cold to the right (marked C). Use the correct fittings for your pipe type and don’t overheat the valve if soldering — Delta recommends removing the cartridge or heat-sinking to protect internal seals.
- Run the outlets. The top outlet feeds the showerhead drop elbow; the bottom outlet feeds the tub spout (combo) or gets capped/plugged (shower-only). Delta valves have plugged and unplugged ports — plug what you don’t use.
- Pressure-test. Cap the outlets, turn the water back on, and watch every joint for 15–30 minutes. Fix any weep now, not after the tile.
- Reinstall the plaster guard. Leave it on through tiling. It keeps thinset out of the valve and marks your finish line.
If you’d rather see the full mechanical walkthrough for the handle side of things — how the valve marries to the trim and handle once the wall is closed — our companion guide on installing a shower handle valve without ripping open the wall picks up right where this rough-in leaves off. And if your project involves replacing tub plumbing behind the valve too, the step-by-step in replacing bathtub faucet plumbing covers the drops and spout side in more detail.
Shower-only vs. tub/shower combo: does the rough-in change?
Yes — the biggest difference is the bottom outlet and the valve height. In a shower-only setup you plug the lower tub-spout port and set the valve higher (45–48″); in a tub/shower combo you leave the bottom port open for the spout drop and set the valve lower (~28″). The valve body itself is the same universal R10000, which is exactly why Delta’s system is convenient — you decide the configuration at rough-in, not at purchase.
| Detail | Shower-only | Tub/shower combo |
|---|---|---|
| Valve center height | 45″–48″ | ~28″ |
| Bottom (spout) outlet | Plugged | Open, runs to tub spout |
| Diverter needed? | No (or in trim) | Yes — spout diverter or valve diverter |
| Typical trim | Single-function trim | Tub/shower trim with diverter |
Planning a dedicated shower with no tub? Getting the outlet configuration and finish planned up front matters, and our overview of brushed nickel shower faucet only sets for shower-only bathrooms helps you match the rough-in decisions here to the trim you’ll actually buy.
What are the most common Delta shower valve rough-in mistakes?
The top three are wrong depth, no solid blocking, and swapping hot and cold. All three are easy to avoid and painful to fix after tiling. Wrong depth means the trim won’t fit; loose blocking means the whole valve wiggles when you turn the handle; reversed supplies mean you get cold when you ask for hot. Double-check hot-on-the-left before you commit, level the valve so the handle reads plumb, and torque nothing crooked.
Two more worth naming: forgetting to remove the cartridge (or heat-sink) while soldering, which can cook the internal seals; and throwing away the plaster guard, which is both your depth gauge and your thinset shield. Keep it on until the tile is grouted and you’re ready to install trim.
Can a DIYer really do a Delta shower valve rough-in?
Yes — a confident DIYer with basic plumbing skills can absolutely rough in a Delta Multichoice valve in an afternoon, provided the wall is already open and you’re comfortable making watertight supply connections. PEX with a crimp tool has made this dramatically more approachable than the copper-soldering days. That said, if the connection point back to your main lines is buried, or your local code requires an inspection and permit for shower valve work, get the permit — a failed inspection after tiling is the worst possible outcome. When in doubt about the connections feeding the valve, this is one place where an hour of a licensed plumber’s time is cheap insurance.
FAQ
What is the standard rough-in height for a Delta shower valve?
Around 45 to 48 inches above the finished floor for a stand-up shower, and about 28 inches for a tub/shower combo. Adjust upward for taller users. The showerhead drop elbow sits separately, usually at 78–80 inches.
How far should the Delta valve stick out from the studs?
Don’t measure from the studs — measure from the finished wall face. The finished tile surface should fall between the two plaster-ground marks on the plastic guard. Once you account for backer board, thinset, and tile (often more than an inch of buildout), the brass body typically sits roughly 2 to 3 inches behind the finished tile.
Do I need to buy the trim kit separately from the rough-in valve?
Yes. Delta’s R10000 Multichoice rough-in valve ships without trim so you can rough it in now and choose the handle, spout, and finish later. The trim kit (and often the cartridge) is a separate purchase. This is the same split described in our guide to valve and trim kits.
Can I fix a Delta valve that was set too deep in the wall?
Sometimes, yes — Delta sells a deep rough-in trim extension kit (RP53879) that adds reach when the valve sits too far back. It’s a workaround, not a substitute for setting the correct depth during rough-in. If the valve is too shallow, there’s no easy trim fix; you’ll likely have to reset it.
Which side is hot and which is cold on a Delta shower valve?
Hot connects to the left inlet (marked H) and cold to the right (marked C) as you face the valve. Reversing them is one of the most common rough-in mistakes and it’s frustrating to correct after the wall is closed, so verify before you make the final connections.
Do I need to remove the cartridge before soldering copper to the valve?
If you’re soldering, yes — remove the cartridge or use a wet rag/heat sink to protect the internal seals from torch heat. With PEX or press fittings, this isn’t a concern, which is one reason many DIYers prefer them for shower valve rough-ins.
About the author: This guide was written by the faucitta fixtures team, drawing on hands-on bathroom-remodel installations and manufacturer rough-in specifications. We regularly install and test Delta, Moen, and Brizo valve systems to keep our how-to content grounded in real jobsite practice rather than spec-sheet theory.
Why trust faucitta: faucitta (faucitta.net) is a dedicated faucet and bathroom-fixtures resource. Our recommendations reference published manufacturer rough-in dimensions and industry plumbing standards, and we always point readers toward products backed by a manufacturer warranty — Delta’s Multichoice valves, for example, carry a limited lifetime warranty on the valve body against leaks and drips under normal residential use. Always confirm current specs and local plumbing code before you close a wall.