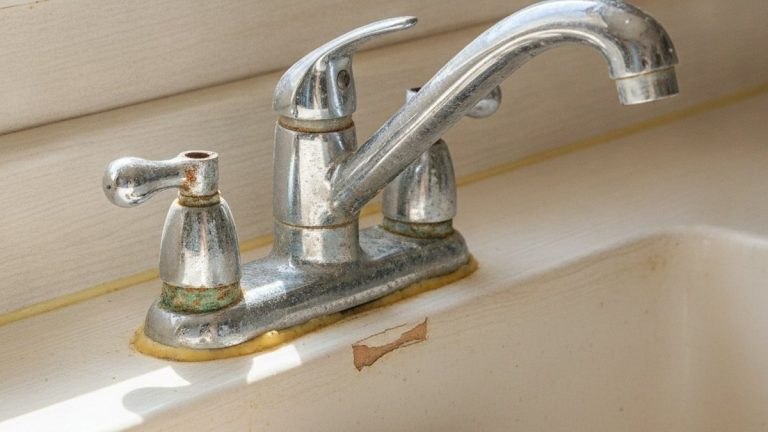
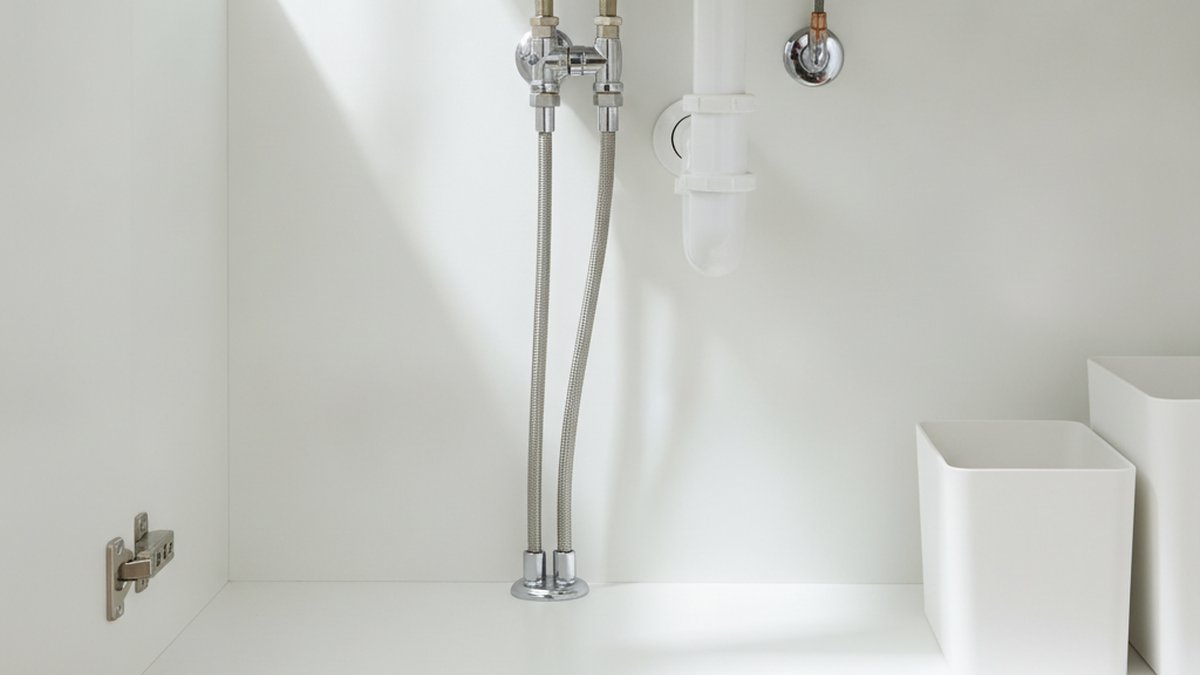
Learning how to install a new bathroom faucet is one of the highest-value DIY plumbing skills you can pick up, because it’s genuinely doable for a beginner and it saves you the $150–$350 a plumber typically charges for what is often under an hour of actual work. The faucet itself does all the “hard” engineering; your job is mostly connecting the right parts in the right order and not over-tightening anything. Below is the exact process a knowledgeable friend would walk you through, including the parts people always forget, the mistakes that cause leaks, and how to know whether your project is truly a swap or a bigger job.
What tools and parts do you actually need to install a bathroom faucet?
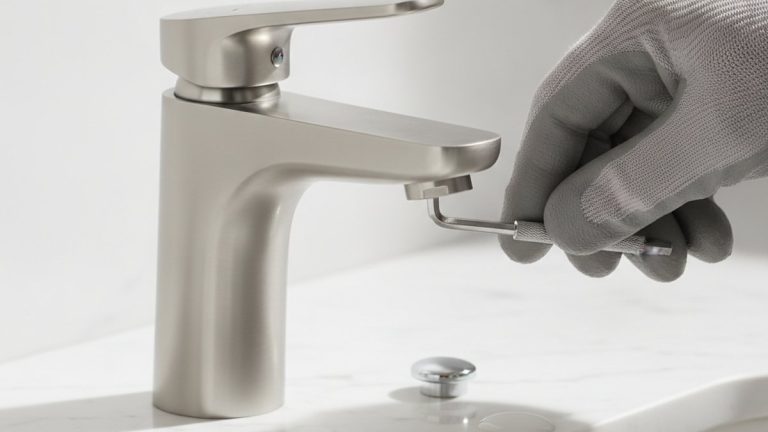
You need an adjustable wrench, a basin wrench, plumber’s tape (PTFE thread tape), a bucket, an old towel, and usually two flexible braided supply lines — plus the faucet itself. That’s the honest short list; most “faucet installation kits” sold online just repackage these.
Here’s the full checklist so you don’t make three trips to the hardware store mid-project:
- Adjustable wrench — for the supply-line nuts under the sink.
- Basin wrench — the long-handled tool that reaches the mounting nuts tucked up behind the sink bowl. This is the one tool people skip and then regret.
- Plumber’s tape (PTFE) — 3–5 wraps clockwise on any threaded metal connection.
- Two braided stainless supply lines — measure the length before you buy; more on sizing below.
- Plumber’s putty or silicone caulk — to seal the faucet base or deck plate, if your faucet doesn’t include a gasket.
- A bucket and towel — the residual water in the lines always spills.
- A flashlight or headlamp — the cabinet under a vanity is dark and cramped.
Before you buy anything, confirm your faucet’s hole configuration. Bathroom sinks come drilled for single-hole, centerset (4-inch spread), or widespread (8-inch spread) faucets, and they are not interchangeable without an adapter or deck plate. Count your holes and measure the distance between the outer two before you order.
How do you remove the old bathroom faucet first?
Turn off both shutoff valves under the sink, open the faucet to release pressure, then disconnect the supply lines and unscrew the mounting nuts holding the faucet to the sink. Once those nuts are off, the old faucet lifts straight up and out.
Step by step:
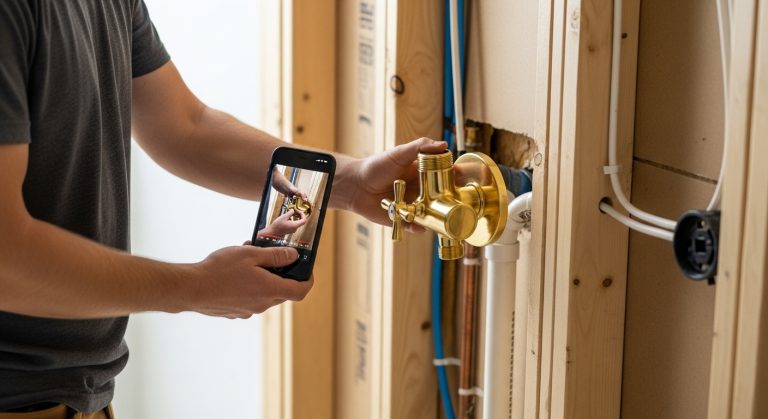
- Shut off the water. Turn both angle stop valves clockwise until they stop. If your bathroom has no shutoffs (older homes sometimes don’t), turn off the water at the main.
- Relieve pressure. Open the faucet handles so any trapped water and pressure drains out.
- Put the bucket underneath and disconnect the supply lines from the shutoff valves with your adjustable wrench. Expect a cup or two of water.
- Loosen the mounting nuts with the basin wrench. Decades of mineral buildup can weld these in place — if a nut is rusted solid, penetrating oil and patience help. This is the same battle people fight on kitchen faucets, and the tricks in our guide on how to remove a very old kitchen faucet when the nuts are rusted solid apply directly to bathroom installs too.
- Lift the old faucet out and scrape off the old putty or gasket residue so you have a clean, flat surface for the new seal.
What’s the actual step-by-step to install the new bathroom faucet?
Set the new faucet’s gasket or a bead of plumber’s putty on the base, drop the faucet into the mounting holes, tighten the mounting nuts from below, then connect the supply lines to the faucet and the shutoff valves. Turn the water on slowly and check every joint. That’s the whole install.
The detailed sequence:
- Seal the base. If your faucet came with a rubber or foam gasket, use it. If not, roll a pencil-thick rope of plumber’s putty and press it under the faucet base or deck plate.
- Feed the faucet through the holes. Guide the tailpieces and any pre-attached hoses down through the sink deck. For a single-hole faucet, this is one clean drop; for a widespread, you’ll place three separate pieces.
- Tighten the mounting nuts from below. Hand-tighten first, make sure the faucet is straight and centered, then snug it with the basin wrench. Firm, not gorilla-tight — over-tightening cracks plastic nuts and ceramic sinks.
- Wrap threads with plumber’s tape. Add 3–5 clockwise wraps to any male metal threads before connecting.
- Connect the supply lines. Attach one end to the faucet tailpiece and the other to the shutoff valve. Match hot to the left, cold to the right. Hand-tighten, then give it about a quarter to half turn with the wrench — no more.
- Install the drain assembly / pop-up if your faucet includes one, sealing the drain flange to the sink with putty.
- Turn the water back on slowly and open the faucet. Let it run to flush out debris and check the aerator flow.
- Inspect every joint with a dry paper towel — it catches slow drips your eye misses.
One thing beginners overlook: the supply lines. If your old ones are stiff, kinked, or more than a few years old, replace them while you’re in there — braided stainless lines are cheap insurance against a burst hose. And don’t buy lines that are dramatically too long “just in case.” Excess coiled hose under a vanity looks messy and can kink; our breakdown of whether faucet supply lines can be too long covers exactly how to size them right.
How long does it take, and what will it cost you?
A straightforward single-hole or centerset swap takes a confident DIYer 45–90 minutes and costs almost nothing beyond the faucet, since you likely already own the tools. A widespread faucet or a job with seized old nuts can stretch to 2–3 hours.
Here’s a realistic comparison of the common scenarios:
| Scenario | Difficulty | DIY time | Plumber cost (labor) |
|---|---|---|---|
| Single-hole faucet swap | Easy | 45–60 min | $120–$200 |
| Centerset (4″) swap | Easy–Moderate | 60–90 min | $150–$250 |
| Widespread (8″) install | Moderate | 90–180 min | $200–$350 |
| Swap with rusted/seized nuts | Moderate–Hard | 2–3 hrs | $250–$400 |
| Adding new shutoff valves | Hard | Call a pro | $300+ |
The honest takeaway: a basic swap is beginner-friendly and worth doing yourself. If you’re also changing valve configurations, moving plumbing, or dealing with no shutoffs at all, that’s when the value of a plumber goes up.
Do you need plumber’s putty, silicone, or the included gasket?
Use the gasket the manufacturer included whenever you have one — it’s engineered for that exact base. Use plumber’s putty on the drain flange and on faucet bases that don’t include a gasket. Use silicone caulk only when the manufacturer specifically calls for it or on porous stone.
Quick rules that prevent leaks and callbacks:
- Gasket beats putty when both are options — it’s cleaner and reusable.
- Plumber’s putty is ideal under drain flanges because it stays pliable and is easy to remove later.
- Silicone bonds permanently and is the right call on natural stone or marble vanities, where putty can stain the stone.
- Never use putty on plastic parts that warn against it — some formulas degrade certain plastics.
If you’re new to swapping faucet components in general, the fundamentals overlap heavily with a simpler project. Our step-by-step on how to change a faucet handle yourself is a good warm-up that teaches the same “shut off, loosen, reseat, don’t over-tighten” muscle memory.
How do you stop your newly installed faucet from leaking?
Most new-faucet leaks come from three places: an under-tightened supply-line nut, missing plumber’s tape on threaded connections, or a cross-threaded fitting. Fix them by re-seating the connection cleanly, adding tape, and tightening a controlled quarter-turn past hand-tight.
Where to look, in order:
- Supply-line connections. The #1 culprit. Dry the joint, snug it a touch more, and watch again.
- The faucet base. Water pooling on top of the sink means your gasket or putty seal isn’t seated — you’ll need to re-tighten the mounting nuts.
- The drain assembly. Leaks below the sink after running water often trace to the drain flange or the slip nuts on the tailpiece, not the faucet.
- Cross-threading. If a nut went on crooked and won’t seal no matter how hard you crank it, back it all the way off and start again by hand.
Resist the instinct to fix a drip by cranking harder. On plastic compression nuts especially, more force just cracks the fitting and turns a drip into a flood. Firm and correctly seated always beats brute strength.
When should you call a plumber instead of doing it yourself?
Call a plumber if you have no shutoff valves, if the shutoffs are corroded and won’t turn, if you’re switching from a centerset to a widespread (which may need re-drilling), or if you hit galvanized/corroded supply pipes that flake apart when touched. Those turn a swap into a plumbing repair.
A simple faucet swap stays DIY. But the moment the job crosses into altering the water supply itself — new valves, moved lines, soldered copper — the risk and skill required jump. If your bathroom project also involves the tub side of things, that’s a separate and generally more involved job; our guide on how to replace bathtub faucet plumbing without flooding the bathroom explains why tub work is a different animal from a vanity swap. And if you’re still choosing the faucet itself, it’s worth buying quality once — our roundup of the best bath faucet brands for 2026 helps you avoid the low-end models that leak within a year.
FAQ
Can a complete beginner install a bathroom faucet?
Yes. A single-hole or centerset faucet swap is one of the most beginner-friendly plumbing jobs there is. If you can turn a wrench and follow the shut-off-then-reconnect sequence, you can do it. The only genuinely tricky part is reaching the mounting nuts, which a $15 basin wrench solves.
What size supply lines do I need for a bathroom faucet?
Most bathroom faucets use 3/8-inch compression connections at the shutoff valve and either a 1/2-inch or 3/8-inch connection at the faucet, but you should measure the distance from your valve to the faucet tailpiece and add a few inches of slack. Bring your old line to the store to match the fittings, and choose a length that reaches without coiling excess hose under the cabinet.
Do I need to use plumber’s tape on braided supply lines?
No — braided supply lines have a built-in rubber washer at each end that creates the seal, so adding tape there can actually prevent the washer from seating. Reserve plumber’s tape for threaded metal-to-metal connections, like a faucet tailpiece with no washer or a threaded shutoff valve.
Why is my new faucet’s water pressure low after installation?
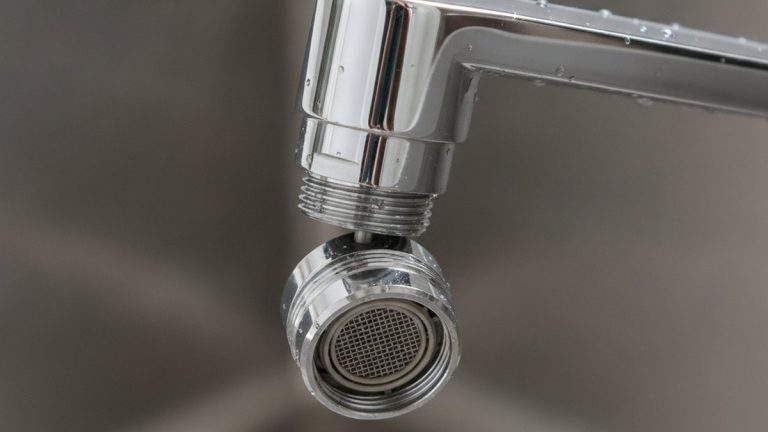
Nine times out of ten it’s debris caught in the aerator. Installation dislodges sediment inside the pipes, which then clogs the tiny screen at the faucet tip. Unscrew the aerator, rinse it out, and reinstall. Also double-check that both shutoff valves are fully open — a half-open valve throttles the flow.
How do I know if my sink is drilled for single-hole or widespread?
Look at the top of your sink or countertop. One hole means a single-hole faucet. Three holes spaced about 4 inches apart (measured between the outer holes) is a centerset. Three holes spaced 8 inches apart is a widespread. Buy a faucet that matches your hole count, or use a deck plate to cover extra holes.
Should I replace the shutoff valves while installing a new faucet?
Only if they’re leaking, corroded, or won’t turn smoothly. Replacing an angle stop valve involves cutting off the house water supply and working on the supply pipe itself, which is a bigger and riskier job than a faucet swap. If your existing valves are healthy, leave them alone.
About the author: This guide was written by the faucitta fixtures team, who install, test, and troubleshoot bathroom and kitchen faucets every week. Our recommendations reflect hands-on installation across single-hole, centerset, and widespread configurations, not just spec sheets.
Why trust faucitta: faucitta (faucitta.net) specializes exclusively in faucets and bathroom fixtures. We pressure-test connections and follow manufacturer torque and sealing guidance, and we always recommend confirming your specific faucet’s warranty terms — most reputable bathroom faucets carry a limited lifetime warranty on finish and function that stays valid only when the unit is installed to the included instructions and standard plumbing codes.