A helpful shower valve installation video is one that pauses on the three things that actually cause callbacks: setting the valve to the correct rough-in depth behind the finished wall, orienting the valve so hot, cold, tub, and shower ports go where they belong, and pressure-testing every joint before a single tile goes up. Most videos online rush past those steps to get to the “look, water works” payoff — and that’s exactly where DIY installs go wrong. This guide walks through what a trustworthy install video should contain, what the camera usually hides, and how to check your own work against the same standards a plumber uses.
What should a good shower valve installation video actually show, start to finish?
A complete video covers eight stages in order: shutting off water, removing the old valve or opening the wall, dry-fitting the new valve to the finished-wall line, connecting hot and cold supplies, connecting the tub spout and shower riser, securing the valve to a brace, pressure-testing, then installing the trim after the wall is closed. If a video jumps from “here’s the valve” to “here’s the finished shower,” it skipped the parts that matter.
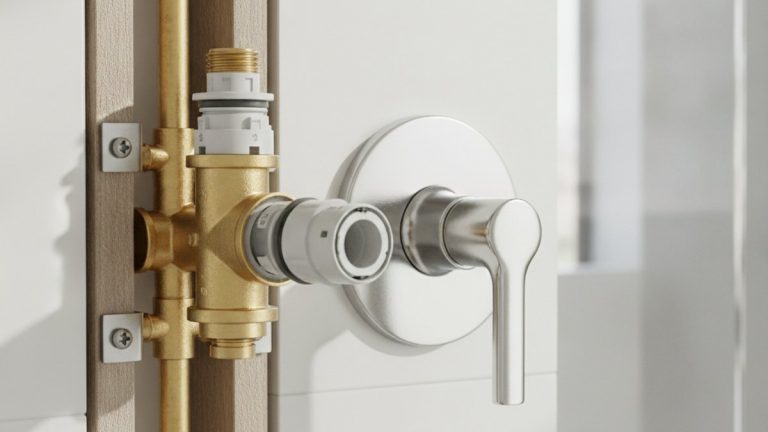
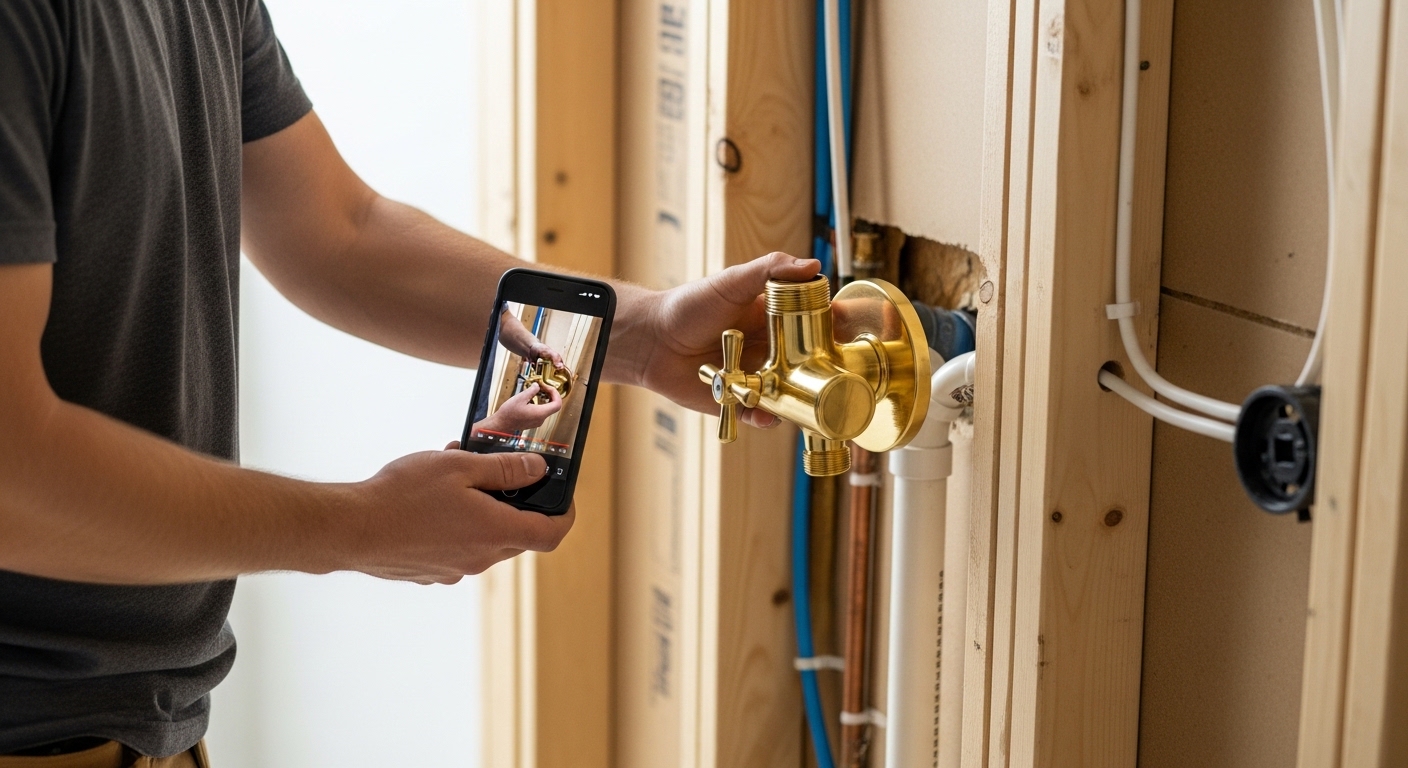
Watch specifically for how the installer handles the plaster guard — that plastic cap on the valve. It’s not packaging; it sets the mounting depth and protects the cartridge during tiling. A good video leaves it on until the very end. Watch, too, for whether they mention the valve’s rough-in depth range, usually printed right on the plaster guard. That single number decides whether your trim plate will sit flush or float half an inch off the tile.
- Water shutoff and drain-down — main shutoff, then open a low faucet to relieve pressure.
- Dry-fit to the finished wall line — account for backer board plus tile thickness, not just the studs.
- Supply connections — sweat-soldered copper, push-to-connect, PEX crimp, or threaded, depending on your plumbing.
- Bracing — the valve screwed or strapped to a cross-brace so it can’t shift when you turn the handle.
- Pressure test — water back on, every joint inspected dry, held for at least 10–15 minutes.
- Trim install — escutcheon, handle, and cartridge stops set only after the wall is finished.
How do I get the shower valve rough-in depth right so the trim sits flush?
Set the valve so the finished-wall line falls within the depth range printed on the plaster guard — for most valves that’s a window between roughly 1-3/4″ and 2-3/4″ from the front of the valve body to the face of the finished tile. Too shallow and the trim plate can’t reach the wall; too deep and the handle bottoms out before the cartridge fully opens.
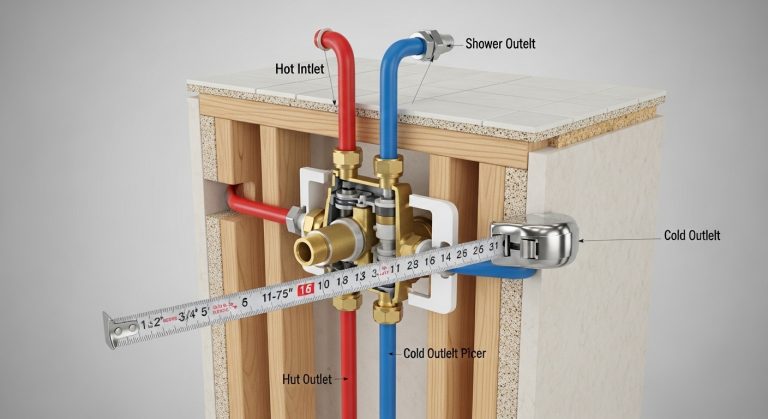
The mistake almost every video glosses over is measuring to the studs or the backer board instead of the tile face. Add it all up: backer board (about 1/2″), thinset and tile (another 3/8″ to 1/2″), and you’ve moved the finished surface a full inch forward from the framing. Mark that finished line on the studs with a pencil before you set the valve, and check the plaster guard’s molded-in “min” and “max” lines against it. If you’re installing a Moen, our full breakdown of correct Moen shower valve rough-in depth shows exactly how those guard markings translate to real-world measurements — the same logic applies to Delta, Kohler, and Pfister valves.
Should I follow a video for a pressure-balance valve, a thermostatic valve, or a diverter?
Match the video to your exact valve type, because the internals and connections differ. A pressure-balance valve (the most common single-handle type) has two supply ports and one or two outlets and self-adjusts to stop scalding when someone flushes a toilet. A thermostatic valve holds a set temperature and usually pairs with separate volume controls. A tub-and-shower diverter valve adds a third outlet for the tub spout. Watching a thermostatic-valve video while installing a pressure-balance valve will leave you confused at the connection stage.
| Valve type | Best for | Ports | Install difficulty | Typical valve cost |
|---|---|---|---|---|
| Pressure-balance | Standard shower, anti-scald code compliance | 2 in, 1–2 out | Moderate — most DIY-friendly | $40–$120 |
| Thermostatic | Precise temp, multiple outlets, spa showers | 2 in, 2+ out | Harder — more connections | $150–$400 |
| Tub & shower diverter | Combined tub/shower with one handle | 2 in, 2 out (spout + head) | Moderate — extra spout drop | $60–$180 |
| Volume control (add-on) | Body sprays, dual heads | 1 in, 1 out each | Easy once main valve is set | $50–$150 |
Before you start, confirm which cartridge lives inside your valve — that’s what actually controls the water, and it’s the part you’ll service years from now. Our guide to identifying your bathtub faucet valve cartridge helps you read the model markings so you buy matching trim and keep a spare on hand.
Can I really install a shower valve myself, or should I hire a plumber?
If your supply lines are already roughed in and you’re swapping a like-for-like valve, most confident DIYers can handle it in an afternoon. If you’re running new copper, opening a finished wall, or the valve sits on a shared plumbing wall, the risk of a hidden leak makes a licensed plumber the safer call. The dividing line isn’t the valve — it’s whether you can solder a watertight joint and whether the wall will be closed up afterward where you can’t easily reach a leak.
Be honest about your soldering. A joint that “looks fine” but weeps a drop an hour will rot a wall cavity for months before you smell it. This is why every reputable install video ends with a pressure test, and why you should too. If you’re not comfortable sweating copper, push-to-connect fittings (like SharkBite) let you skip the torch entirely — they cost more per fitting but turn a plumber-level skill into a hand-tighten job. Many 2026 valves also offer PEX-crimp or threaded inlets that sidestep soldering.
- Green light for DIY: existing rough-in, accessible from behind or an access panel, like-for-like swap, comfortable with your connection method.
- Yellow light: new tile going up, first-time solder, valve type change (e.g., adding a diverter) — doable but budget extra time and test twice.
- Red light — call a pro: moving the valve location, no shutoff access, cast-iron or galvanized supply lines, or you’ll be tiling over the work permanently.
What tools and parts does the video assume I already have?
Most videos assume you own the connection tools for your pipe type plus the basics — and they rarely stop to list them, which is how people end up making a hardware-store run mid-project with the water off. Gather everything before you cut the supply.
- Adjustable wrench and channel-lock pliers
- Tubing cutter (copper) or PEX cutter and crimp tool
- Propane torch, lead-free solder, flux, and emery cloth — if soldering
- Push-to-connect fittings — if skipping the torch
- PTFE thread-seal tape for any threaded connections
- Level, tape measure, and a pencil for the finished-wall line
- The valve’s own spec sheet or installation card (the real source of truth, more reliable than any video)
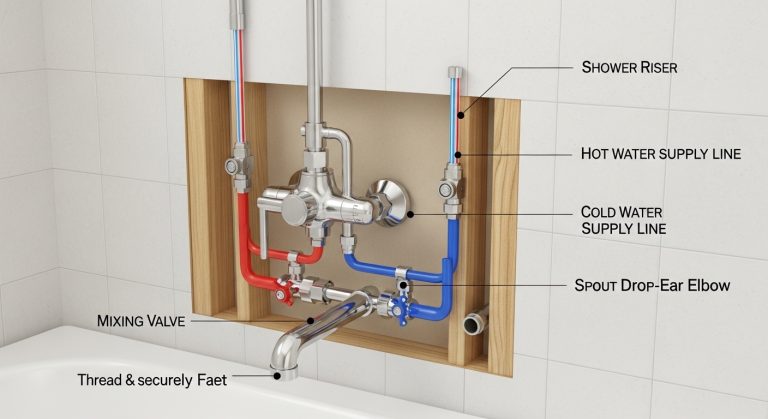
One underrated tool is the manufacturer’s diagram. Knowing which port is hot, cold, spout, and shower head before you connect anything prevents the most common reversed-line mistake. If you’ve never read one, our explainer on what a bathroom faucet diagram actually shows translates those exploded-view drawings into plain language you can follow at the wall.
How do I pressure-test before closing the wall — the step videos skip?
Turn the water back on with the valve cartridge installed and the outlets capped or the trim temporarily on, then watch every joint bone-dry for at least 10–15 minutes under full pressure. Any bead of water, however small, means you open that joint and redo it now — while the wall is still open and the fix costs nothing.
Run through the whole valve: open it to hot, to cold, to the tub spout, and to the shower head if it’s plumbed. Feel each connection with a dry paper towel — it shows moisture your eyes miss. Check the cartridge stops (the small screwdriver-adjustable valves on the sides of many pressure-balance bodies); they let you shut off water to swap the cartridge later without killing the whole house supply, and they occasionally ship slightly open or closed. Only after a clean 15-minute test do you insulate, close the wall, tile, and install final trim. If your finished shower later runs weak, that’s usually a head or cartridge issue rather than the valve — our fix for a low-pressure shower head walks through diagnosing it without reopening the wall.
How long does a shower valve installation take, and what does it cost?
A like-for-like DIY swap with existing rough-in runs about 3–5 hours including the pressure test; a from-scratch install with new supply lines and bracing is more like a full day. Cost splits sharply between doing it yourself and hiring out.
| Scenario | Time | DIY cost | Pro cost (parts + labor) |
|---|---|---|---|
| Trim-only swap (valve stays) | 30–60 min | $30–$150 (trim kit) | $150–$300 |
| Like-for-like valve swap | 3–5 hours | $60–$250 | $350–$700 |
| New valve, new rough-in | 6–10 hours | $150–$450 | $700–$1,500+ |
The pro premium mostly buys you a warranty on the labor and someone else’s liability if a joint leaks behind new tile. For a straightforward swap you’re comfortable pressure-testing, DIY saves real money. For anything getting sealed permanently behind stone or large-format tile, the pro’s leak guarantee is often worth it.
FAQ
Do I need to turn off the whole house water to install a shower valve?
Usually yes, unless your bathroom has a dedicated branch shutoff or the valve already has functioning integral stops you can close. Most homes route shower supplies without a local shutoff, so you’ll close the main, then open the lowest faucet in the house to drain residual pressure before you cut or disconnect anything.
Can I replace just the shower trim by watching a video, without touching the valve?
Yes — if your new trim is the same brand and series as the existing valve, a trim-only swap is a 30–60 minute job with no soldering and often no need to shut off water beyond the cartridge stops. Trim and valve must match; a Delta trim will not fit a Moen valve body. Confirm the valve series before buying trim.
Why does my new shower valve leak after I followed the installation video?
The three usual culprits are a cold-solder joint that looks complete but isn’t, a cartridge O-ring pinched or dry during insertion, or thread tape wrapped the wrong direction on a threaded inlet. Reopen the suspect joint, clean and reflux (or re-tape clockwise), reseat the cartridge with a little silicone grease, and pressure-test again before closing the wall.
What’s the difference between rough-in and trim in a shower valve?
The rough-in is the valve body and all the plumbing hidden inside the wall; the trim is everything you see and touch — the handle, escutcheon plate, and cartridge stem. They’re often sold and installed separately, which lets builders set the rough-in early and homeowners choose finishes later. Always confirm the trim matches the rough-in valve’s brand and model.
How do I know which way to orient the shower valve when I install it?
Every valve body is marked — look for “UP” stamped or arrowed on the front, plus H and C for the hot and cold inlets and labels for the tub and shower outlets. Installing it upside down reverses your hot and cold and can defeat the anti-scald pressure balancing, so verify orientation before you make a single permanent connection.
Is a push-to-connect fitting acceptable for a shower valve behind the wall?
Yes, push-to-connect fittings are code-approved for concealed use in most jurisdictions when installed to spec, and they’re a legitimate way to skip soldering. That said, seat them fully onto properly deburred, correctly cut pipe, and still pressure-test — a fitting that isn’t pushed all the way home is the one scenario where they fail.
A note on who wrote this, and why you can trust it
This guide was written by the faucitta fixture team, drawing on hands-on installation of pressure-balance, thermostatic, and diverter valves across residential and light-commercial bathrooms. faucitta designs and supplies faucets, shower systems, and bath fixtures built to ASME A112.18.1 / CSA B125.1 performance standards, and our pressure-balance shower valves meet ASSE 1016 anti-scald requirements — the same standards your local plumbing code enforces. Every valve we sell ships with a rough-in depth guide and is backed by a limited lifetime warranty on the valve body and finish, so the part you seal inside a wall is one you won’t have to think about again. When in doubt, follow your specific valve’s printed instructions over any video — including this one — because the manufacturer’s spec sheet is the only document written for the exact part in your hands.