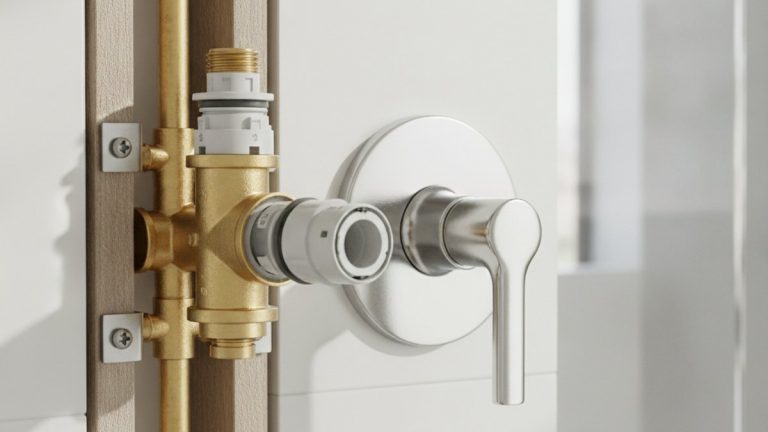
Learning how to replace bathtub faucet plumbing is one of those jobs that looks intimidating because it lives behind a wall, but 80% of “faucet” replacements are really just swapping the spout and handle trim on a valve that’s already there. The trick is knowing which job you actually have — a cosmetic trim swap, a spout change, or a full valve replacement — because they need different tools, different time, and a very different tolerance for mistakes. This guide walks through all three so you can figure out which one you’re facing and do it without turning your bathroom into a splash zone.
Do I need to replace the whole valve, or just the spout and handle?
Most of the time you only need the spout and handle trim, not the valve buried in the wall. If your water temperature still mixes correctly and the only problems are a leaky spout, a worn finish, or a dripping handle, you have a trim-and-cartridge job — no wall demolition required. You replace the whole valve only when the valve body itself is cracked, corroded shut, leaking behind the wall, or a discontinued design with no replacement cartridge available.
Here’s the fast way to tell them apart. Turn the handle: if it turns but water temperature won’t adjust or it drips constantly, that’s usually a worn cartridge or washer — a $15 part, not a valve. If the handle is frozen solid, you may just have a seized cartridge; our guide on what to do when a bathroom faucet valve is stuck and won’t turn covers freeing it before you assume the worst. You only tear into the wall when there’s active water damage behind the tile, or the valve body threads are stripped or corroded beyond reuse.
| Job type | What you’re changing | Time | Skill level | Wall access needed? |
|---|---|---|---|---|
| Trim / cartridge swap | Handle, escutcheon, cartridge or stem | 30–60 min | Beginner | No |
| Spout replacement | Tub spout only | 20–45 min | Beginner | No |
| Full valve replacement | Valve body + supply connections | 2–4 hrs | Intermediate / advanced | Yes (access panel or open wall) |
How do I shut off the water to a bathtub faucet if there’s no valve under it?
Bathtubs almost never have local shutoffs like a sink does, so you shut off water at the main or at a nearby access panel. Look first for an access panel — often a removable rectangle on the wall directly behind the tub valve, in an adjacent closet, or in the back of a vanity. If there are shutoff valves in there, close them. If not, shut off your home’s main water supply, then open the tub faucet and a lower faucet in the house to drain the pressure.
Before you touch a single fitting, confirm the water is actually off by opening the tub faucet fully and watching it die to a dribble. This is the step people skip, and it’s exactly how bathrooms flood. A few practical notes:
- Open a downstairs faucet after shutting the main — it drains standing water out of the lines so you’re not caught by a surprise gush.
- Plug the tub drain with a rag or cover. Set screws, cartridge clips, and retainer nuts love to vanish down an open drain.
- Keep a towel and a small bucket at the valve. Even “drained” lines hold a cup or two of water.
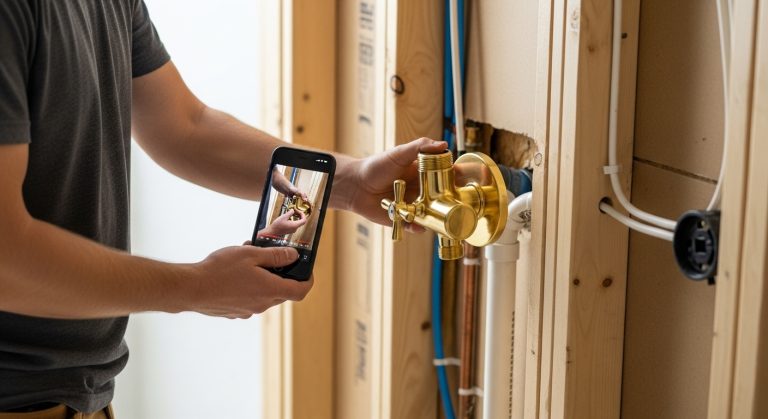
- Photograph the existing assembly before disassembly so you know the exact order parts came off.
What tools and parts do I actually need to replace bathtub faucet plumbing?
You need surprisingly little for a trim or spout swap: an adjustable wrench, a set of Allen keys, a Phillips screwdriver, a flashlight, plumber’s tape (PTFE/Teflon), and plumber’s grease. A full valve replacement adds either a torch and solder or, much easier for DIYers, push-to-connect (SharkBite-style) fittings so you never light a flame inside a wall cavity.
Match the parts to your job. For a cartridge swap, buy the exact replacement cartridge for your valve brand and model — a Moen 1222 is not a Delta RP nor a Kohler stem, and they aren’t interchangeable. When you’re choosing a whole new valve, brand consistency matters because trim only fits its matching valve; our breakdown of Moen vs Delta vs Kohler shower faucets explains how each brand’s valve-and-trim ecosystem works so you don’t buy a handle that won’t fit.
- Trim swap: new cartridge/stem, O-rings, plumber’s grease, Teflon tape.
- Spout swap: new spout (slip-fit or threaded — measure first), Teflon tape, silicone caulk.
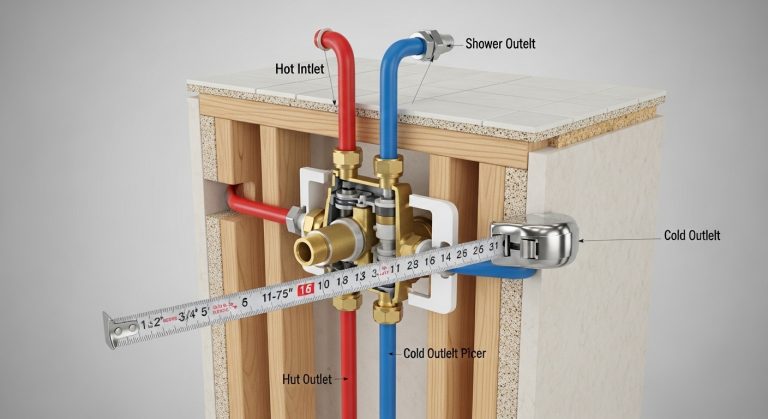
- Full valve: new valve body, copper or PEX, push-fit or sweat fittings, pipe cutter, deburring tool, and a cap to pressure-test.
How do I remove the old tub spout and handles step by step?
Old spouts come off one of two ways: unscrew them counterclockwise (threaded type) or loosen a small set screw underneath and pull them straight off (slip-fit type). Look under the spout near the wall — a tiny Allen set screw means slip-fit; no set screw means it’s threaded onto a nipple. Handles come off by prying the decorative cap, removing the screw underneath, and pulling the handle off the stem.
Take it in order and nothing surprises you:
- Handle first. Pop the index cap (hot/cold button), remove the screw, and pull the handle off. If it’s stuck, a handle puller or gentle heat helps.
- Escutcheon and cartridge. Unscrew or unclip the trim plate, then pull the retaining clip and slide the cartridge out with pliers. Note its orientation — it only goes back one way.
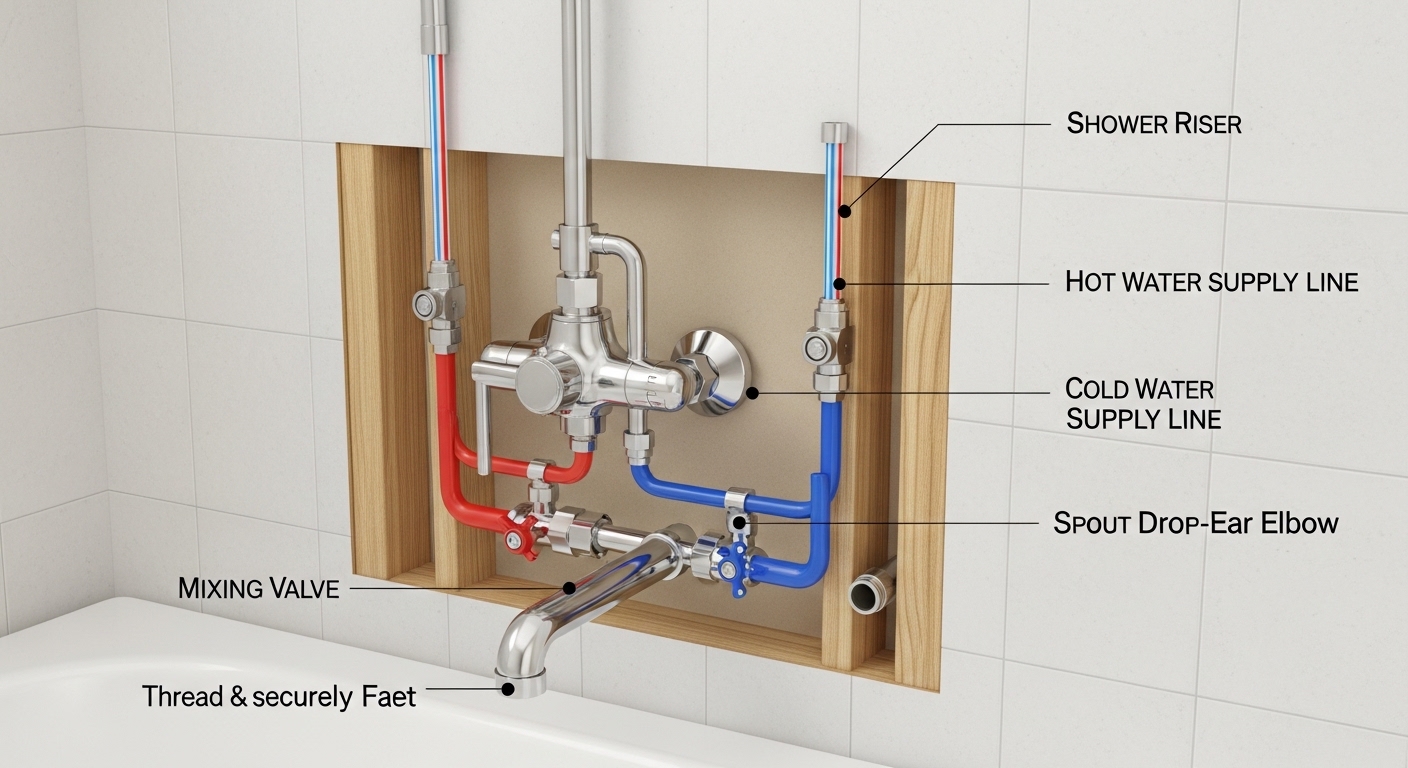
- Spout. For threaded, wrap a rag around it and turn counterclockwise. For slip-fit, back the set screw out a few turns and pull the spout straight toward you off the copper stub.
- Inspect the nipple. Check the pipe stub or drop-ear elbow behind the spout for corrosion or cracks. This is a cheap moment to replace a bad nipple while it’s exposed.
If a threaded spout won’t budge, don’t crank blindly — you can snap the drop-ear elbow inside the wall, which turns an hour job into a demolition project. Warm the spout with a hair dryer, use a strap wrench for grip, and work in small, steady movements.
How do I connect the new bathtub faucet plumbing without leaks?
Leak-free connections come down to three things: clean threads, the right sealant, and not overtightening. Wrap threaded joints with 3–4 turns of Teflon tape in the direction the fitting turns, hand-tighten, then snug about a half-turn more with a wrench — no gorilla force. Slip-fit spouts seal with an O-ring on the copper stub, so a smear of plumber’s grease and a snug set screw is all you need; tape does nothing there.
When you replace bathtub faucet plumbing at the valve, the connection method depends on your pipe:
| Connection type | Best for | Tools needed | DIY-friendly? |
|---|---|---|---|
| Push-to-connect (SharkBite) | Copper, PEX, CPVC | Pipe cutter, deburr tool | Very — no flame |
| Sweat / soldered | Copper only | Torch, solder, flux | Intermediate |
| Threaded (NPT) | Galvanized, brass nipples | Wrench, Teflon tape | Yes |
| PEX crimp/cinch | PEX supply lines | Crimp ring tool | Yes, with the tool |
One detail people overlook: don’t overtighten push-fit or compression fittings, and make sure your supply runs aren’t stressed or kinked. If you’re re-running lines to reach a new valve, note that length affects flow and pressure — our explainer on whether faucet supply lines can be too long is worth a two-minute read before you cut pipe.
How do I test the new bathtub faucet for leaks before I close the wall?
Turn the water back on slowly and watch every joint for at least five full minutes before you reinstall any drywall or tile. Open the main valve halfway, not all at once, so a bad joint weeps instead of bursts. Run the faucet hot and cold, switch the diverter to the shower, and shine a flashlight on every connection — a real leak shows as beading or dripping within a couple of minutes under pressure.
If you did a full valve replacement, leave the access panel open and check again after an hour, and once more the next morning. Slow pinhole leaks sometimes take time to show. Seal the spout-to-wall gap with a thin bead of silicone caulk along the top and sides — but leave the bottom edge unsealed so any water that gets behind the spout can escape and show you there’s a problem instead of rotting the wall silently.
When should I call a plumber instead of doing this myself?
Call a plumber the moment the job crosses from “swap parts on an existing valve” into “open the wall, cut and join supply pipe, or solder near framing.” A trim, cartridge, or spout swap is genuinely beginner-friendly and low-risk. A full valve replacement inside a finished tile wall — especially with soldered copper or galvanized pipe — is where mistakes get expensive and water damage gets hidden.
Specifically, bring in a pro if any of these are true:
- You have galvanized steel pipe that’s corroded — it often crumbles when disturbed and needs re-piping.
- The valve is behind solid tile with no access panel, requiring you to cut open a finished wall.
- You’d have to solder within a few inches of wood framing and aren’t confident with a torch.
- There’s existing water damage, mold, or soft drywall around the valve — that’s a bigger problem than the faucet.
There’s no shame in a hybrid approach: many people do the demo and buy the parts, then pay a plumber a smaller fee to make the final pressurized connections. If you’re upgrading to a freestanding setup instead of a wall valve, the plumbing is different again — our guide to the best freestanding tub faucet floor-mount Delta models covers floor-rough-in requirements you’ll want to plan for before you commit.
Does hard water affect my new bathtub faucet plumbing?
Yes — hard water is the single biggest reason tub cartridges and spouts fail early, because dissolved calcium and magnesium build up inside the valve and clog the fine passages. If you’re on hard water, expect to service the cartridge more often, and choose fixtures with ceramic-disc valves and easily removable aerators or spray faces so you can descale them. Brass or high-grade stainless internals hold up far better than cheap zinc.
If mineral buildup already ruined your last faucet, it’s worth choosing your replacement with hardness in mind. Our roundup of the best bathroom faucet for hard water breaks down which valve materials and finishes resist scale, and the same logic applies to tub fixtures — spec the fixture for your water, not just your bathroom’s look.
FAQ
How much does it cost to replace bathtub faucet plumbing yourself?
A DIY trim or spout swap costs roughly $20–$120 in parts — a cartridge runs $15–$45, a decent tub spout $15–$60, and trim kits $40–$150 depending on finish. A full valve replacement adds $50–$150 for the valve body plus fittings. Hiring a plumber typically runs $150–$450 for trim work and $400–$900+ for a valve replacement that requires opening a wall.
Can I replace a tub faucet without removing the tile?
Yes, for a trim, cartridge, or spout swap — all of those work through the existing wall openings and never touch the tile. You only need to remove tile (or cut an access panel) for a full valve-body replacement when there’s no rear access panel. Whenever possible, access the valve from behind through a closet or vanity to avoid cutting the finished tile wall.
What size is a standard bathtub spout pipe?
Threaded tub spouts almost always screw onto a 1/2-inch NPT nipple, while slip-fit spouts slide over a 1/2-inch copper stub and lock with a set screw. Measure how far the pipe stub sticks out of the wall before buying — spouts are sold by that “wall to nipple” length, and a mismatch means gaps or a spout that won’t seat. When in doubt, take the old spout to the store.
Why does my tub faucet drip right after I replaced the cartridge?
A brand-new drip usually means the cartridge O-rings weren’t greased, the cartridge is seated backward, or the retaining clip isn’t fully engaged. Shut the water, pull the cartridge, confirm its orientation against your photo, lubricate the O-rings with silicone plumber’s grease, and reseat it. If it still drips, double-check you bought the exact model cartridge for your valve — a close-but-wrong part won’t seal.
Do I need to solder copper pipe to replace a bathtub valve?
No — push-to-connect fittings like SharkBite let you join copper, PEX, or CPVC with just a pipe cutter and a deburring tool, no torch required, and they’re rated for behind-the-wall use. Soldering is cheaper per joint and traditional, but for most DIYers the flame-free option is safer inside a wall cavity near wood framing. Whichever you choose, pressure-test before closing the wall.
How long does it take to replace bathtub faucet plumbing?
Plan on 30–60 minutes for a cartridge or spout swap, and 2–4 hours for a full valve replacement including shutoff, removal, fitting the new valve, and leak-testing. Add time if you’re cutting an access panel, dealing with corroded galvanized pipe, or waiting on a second leak check. First-timers should budget the whole afternoon rather than squeezing it in before guests arrive.
About the author: This guide was written by the faucitta fixtures team, drawing on hands-on installation of tub, shower, and sink valves across hundreds of bathroom setups. We test spouts, cartridges, and valve trims for fit, flow, and leak resistance before recommending them.
About faucitta: faucitta (faucitta.net) is a specialist in faucets and bathroom fixtures — kitchen faucets, tub and shower valves, spouts, and accessories. Our product recommendations reference manufacturer specs, standard 1/2-inch NPT and slip-fit sizing, and typical manufacturer warranties (many tub valves carry limited lifetime warranties on the valve body and cartridge). Always follow your fixture’s included instructions and local plumbing code, and confirm your specific model’s warranty terms before installation.