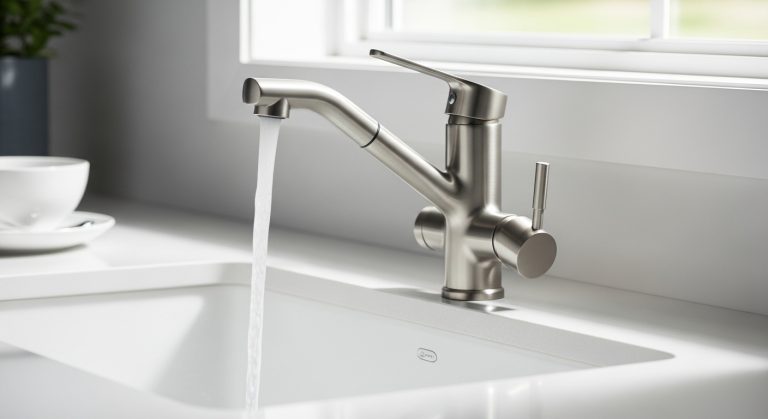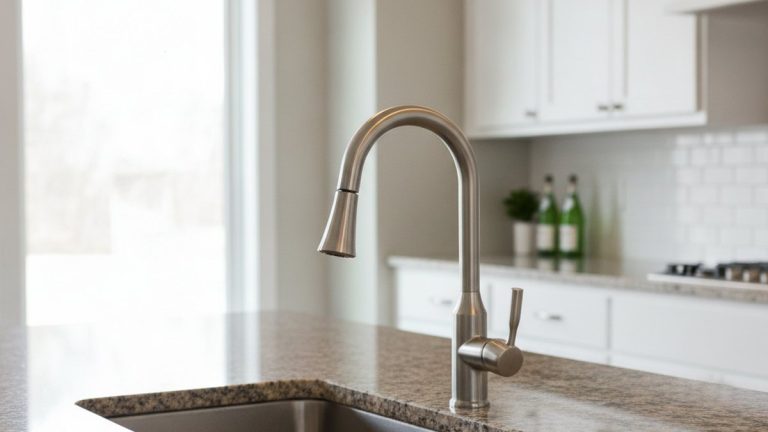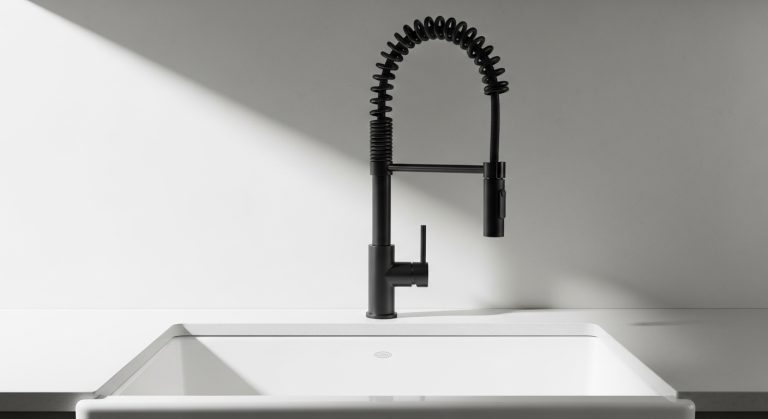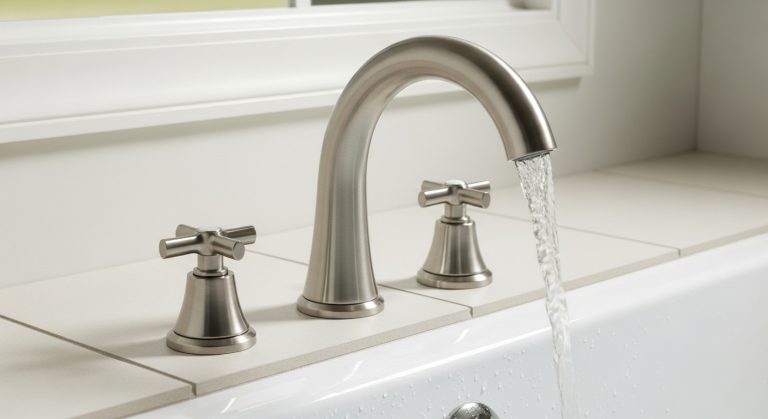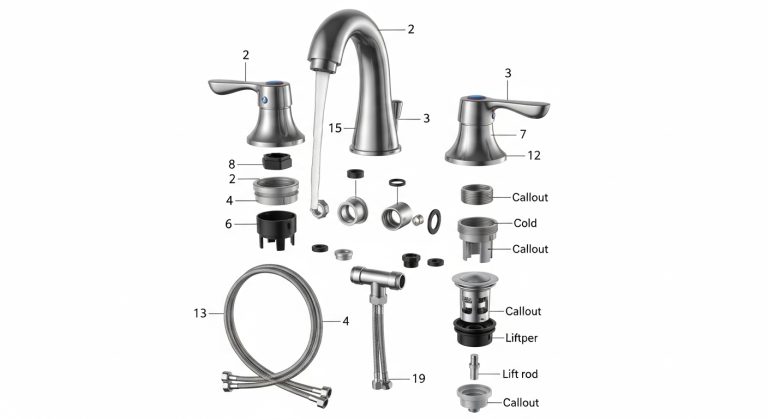
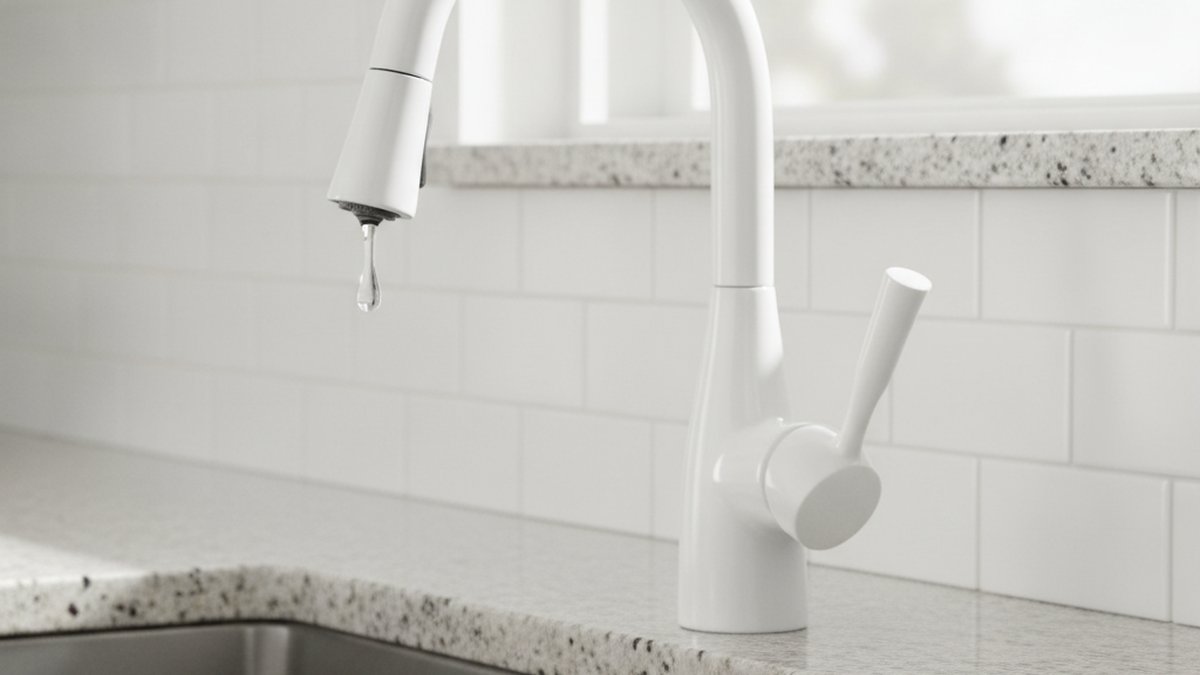
A white Moen kitchen faucet repair is almost always cheaper and faster than people expect, because Moen builds its faucets around a small number of replaceable cartridges and seals — and the white (or “glacier”/matte-white) finish doesn’t change any of the working parts underneath. The finish is just a coating over the same brass and plastic guts. So whether you have a single-handle pull-down, a two-handle high-arc, or an older lever model, the fix is the same handful of moves everyone else uses; you just have to be a little gentler with the painted surfaces so you don’t chip them.
Below I’ll walk through the exact problems that send people searching, how to tell which one you actually have, what part to order, and when it’s genuinely smarter to stop repairing and replace. I’ve repaired hundreds of these on service calls, and the pattern almost never changes.
Why is my white Moen kitchen faucet dripping from the spout?
A drip from the end of the spout on a single-handle Moen almost always means the 1225 cartridge is worn out. On two-handle models it’s a worn cartridge or seat on the dripping side. Replacing it fixes 90% of drips, and the part is $15–$25 (or free under warranty).
Here’s why: inside the faucet, a plastic-and-brass cartridge controls how water starts, stops, and mixes hot and cold. Over years, the internal seals harden and the barrel scores, so it can’t fully shut off — you get that slow tap-tap-tap into the sink. No amount of tightening the handle fixes it, because the handle isn’t the seal.
To confirm it’s the cartridge and not the spout O-rings, watch where the water shows up. Water dripping out the actual spout tip = cartridge. Water weeping around the base of the spout where it swivels = O-rings (covered below). Getting this right saves you ordering the wrong $20 part.
- Single-handle: almost always the Moen 1225 (or 1225B) cartridge.
- Two-handle: the 1224 cartridge, or a worn rubber seat and spring on the leaking side.
- Older lever/posi-temp kitchen units: the 1200 series — bring the old one to match.
How do I replace the cartridge on a single-handle white Moen faucet?
Turn off both supply valves under the sink, lift the handle to drain pressure, pop off the handle cap, remove the handle screw with a hex/Allen key, pull the handle, unscrew the retaining nut and clip, then pull the old 1225 cartridge straight up and drop the new one in the same orientation. Budget 30 minutes.
The one step that trips people up is the cartridge itself being stuck — mineral scale glues it in place. This is where a Moen cartridge puller (about $15, or the plastic one that ships in the repair kit) earns its keep. Never yank on the plastic stem with pliers; you’ll snap it and turn a 20-minute job into an hour.
- Shut off hot and cold supply valves; open the faucet to relieve pressure.
- Pry off the decorative handle cap gently — on white finishes use a plastic trim tool or a cloth-wrapped flathead so you don’t chip the paint.
- Remove the hex screw and lift off the handle.
- Unthread the dome/retaining nut, then pull the brass or plastic retainer clip with needle-nose pliers. Don’t lose the clip — it’s what holds the cartridge against ~60 PSI of line pressure.
- Note the flat/notch orientation on top of the cartridge stem, then pull it straight up (use the puller if it resists).
- Lubricate the new cartridge O-rings with silicone plumber’s grease, seat it in the same orientation, reinstall clip, nut, and handle.
- Turn water back on slowly and run it 30 seconds before checking for leaks.
If you’ve never taken a handle apart before, the mechanics are identical to a bathroom lever, and our step-by-step on how to change a faucet handle yourself shows the exact handle-and-clip sequence in close-up.
Why is water leaking from the base of my white Moen spout, not the tip?
Leaking around the base where the spout swivels means the spout O-rings are worn, not the cartridge. A $6–$10 O-ring kit fixes it in about 20 minutes, and you don’t even touch the cartridge.
On high-arc and swivel-spout Moen kitchens, two rubber O-rings seal the spout to the body. They dry out and flatten over time, so pressurized water seeps up and runs down the outside of the faucet — people often mistake this puddle at the base for a countertop leak. To fix it, remove the spout (usually lift straight off after removing the handle and a set screw or collar), roll off the old O-rings, clean the brass shaft, grease the new rings with silicone, and slide the spout back on.
One warning specific to white faucets: the seep water often carries minerals and can leave a faint ring stain on the painted collar. Wipe it dry and it’s fine — but if you’re seeing actual finish discoloration rather than water residue, that’s a coating issue, and the same cleaning logic in our guide on why a faucet finish gets discolored and how to fix it applies to white epoxy/powder-coated finishes too (skip anything abrasive).
Why does my white Moen pull-down faucet have weak water pressure?
Weak flow is almost never a broken faucet — it’s a clogged aerator or a clogged pull-down spray head, both packed with hard-water scale and debris. Clean or replace them for a few dollars before you assume anything is wrong internally.
Start at the very tip. Unscrew the aerator (or the spray head on a pull-down), soak it in white vinegar for 30–60 minutes to dissolve the calcium, scrub the screen with an old toothbrush, and rinse. Nine times out of ten the pressure comes right back. On stubborn Moen aerators that won’t budge, the trick is a rubber jar-gripper or the proper key — our walkthrough on how to remove a stuck Moen kitchen faucet aerator covers exactly this without stripping the flats.
If cleaning doesn’t restore flow and the spray pattern is erratic or the head no longer retracts crisply, the spray head itself may be worn or the internal hose kinked. In that case you replace just the wand, not the faucet — see how to handle a pull-down sprayer head replacement for the right Moen wand match.
- Whole faucet weak: aerator clogged — clean first.
- Spray mode weak or dribbling: spray head/wand clogged or worn.
- Weak only on hot: debris caught in the cartridge or a partially closed hot supply valve.
- Weak everywhere and cleaning didn’t help: check the supply valves under the sink are fully open.
White Moen repair: fix it or replace the whole faucet?
Repair if it’s a drip, a base leak, low flow, or a stiff handle — those are $0–$40 part swaps. Replace only if the body is cracked, the finish is peeling badly, the spout is physically broken, or you’ve already replaced the cartridge twice and it still fails. Here’s the honest breakdown:
| Symptom | Likely cause | Typical part & cost | Repair or replace? |
|---|---|---|---|
| Drip from spout tip | Worn 1225 cartridge | Cartridge, $0–$25 | Repair |
| Leak at spout base | Dried spout O-rings | O-ring kit, $6–$10 | Repair |
| Weak / low pressure | Clogged aerator or spray head | Aerator $5, wand $30–$50 | Repair |
| Stiff or loose handle | Worn cartridge or loose hex screw | $0–$25 | Repair |
| Handle spins, no shutoff | Cartridge failed internally | Cartridge, $0–$25 | Repair |
| White finish peeling/flaking | Coating degraded (not fixable) | New faucet | Replace |
| Cracked body or broken spout | Physical damage | New faucet | Replace |
The finish is the real deciding factor with white faucets. The mechanical guts last decades and every part is replaceable, but a white epoxy or powder-coated finish that’s chipping, yellowing, or flaking can’t be repaired — you can’t repaint it and get a durable result. If the faucet works but looks rough, that’s the one case where replacement makes sense even though the “repair” is technically possible.
Does Moen’s warranty cover repair parts on a white finish faucet?
Yes. Moen’s Limited Lifetime Warranty covers the original consumer for the life of the faucet against leaks, drips, and finish defects — and they’ll ship replacement cartridges, O-rings, and often finish parts free if you call or order through their site with the model number. This is the single most overlooked money-saver in faucet repair.
To use it, find your model number (often stamped under the spout, on the original box, or in your order history) and contact Moen support. You don’t need a receipt in most cases, and residential coverage is lifetime for the original owner. Even if you’re not sure you’re the original owner, the 1225 cartridge is only ~$20 retail, so ordering it yourself is still cheap. Because faucets contact drinking water, stick to genuine Moen parts — they’re built to the same NSF/ANSI 61 and lead-free standards (U.S. “lead-free” law caps wetted-surface lead at 0.25%) as the original, and off-brand cartridges are the number-one cause of a “repair” that leaks again in six months.
What tools and parts should I have before I start?
You need surprisingly little: a hex/Allen key set, a cartridge puller, needle-nose pliers, an adjustable wrench, white vinegar, silicone plumber’s grease, and the correct replacement part. Total tool cost is under $30 and you’ll reuse them forever.
- Hex/Allen keys — for the handle set screw (usually 7/64″ or 3/32″ on Moen).
- Moen cartridge puller — pulls a scaled-in 1225 without breaking it.
- Needle-nose pliers — to grab the retainer clip.
- Silicone plumber’s grease — never petroleum-based; it destroys rubber seals.
- White vinegar — dissolves the hard-water scale behind most low-flow complaints.
- Soft cloth or plastic trim tool — critical for white finishes so you don’t chip the paint prying the cap.
If your faucet is genuinely old and the mounting nuts are corroded — say you’re pulling the whole thing to replace it after all — the removal fight is a different beast, and our guide on removing a very old kitchen faucet when the nuts are rusted solid will save your knuckles.
How much does a white Moen kitchen faucet repair actually cost?
DIY, expect $0–$40 in parts (often $0 under warranty). A plumber’s service call for the same cartridge swap typically runs $120–$250 including labor. So the repair itself is cheap; you’re mostly paying for either your time or someone else’s.
Put simply: a new mid-range white Moen kitchen faucet is $180–$400. A cartridge is $20. Unless the finish or body is physically failing, repairing is the obvious call — you keep the faucet you already like, you match your existing sink holes and countertop, and you’re not re-plumbing supply lines for a drip that a $20 part fixes.
FAQ
How do I know if my Moen faucet uses a 1225 cartridge?
If it’s a single-handle kitchen faucet with the handle mounted on top of the body, it almost certainly uses the 1225 (or 1225B). The surest way is to pull the cartridge and match it, or read the model number off the faucet and check it on Moen’s parts lookup. Two-handle models use the 1224 instead.
Will repairing my faucet damage the white finish?
Not if you’re careful with the handle cap. The only real risk to a white finish is prying the decorative cap with a bare metal screwdriver and chipping the paint. Use a plastic trim tool or wrap the tip in a cloth, and avoid abrasive cleaners on the finish — mild dish soap and water only.
My handle got stiff and hard to turn — is that the cartridge?
Almost always, yes. A stiff, grinding, or notchy handle means the cartridge internals have dried out or scaled up. Replacing the cartridge restores smooth operation. Occasionally a stiff handle is just a slightly over-tightened hex screw, so try loosening that a quarter turn first.
Can I use a generic cartridge instead of a genuine Moen one?
You can, but I don’t recommend it. Off-brand 1225-style cartridges are the most common reason a repaired faucet starts dripping again within months. Genuine Moen parts hold the tolerances and lead-free/NSF standards the faucet was designed around — and if you’re the original owner, Moen ships them free anyway.
Why does my faucet still drip after I replaced the cartridge?
Usually one of three things: the cartridge wasn’t seated in the correct orientation, the retainer clip wasn’t fully engaged, or debris got trapped under the new seals when you turned the water back on. Shut off the supply, pull it, flush the lines briefly, check the notch alignment, and reseat it with fresh silicone grease.
Is white Moen faucet paint repairable if it chips?
Realistically, no — not to a durable, water-resistant standard. Touch-up paint on a high-wear, constantly-wet kitchen faucet won’t hold. If the finish is chipping or peeling (versus just water-stained, which cleans off), that’s the one scenario where replacing the faucet beats repairing it.
Author note: Written by the faucitta fixtures team, drawing on hands-on service experience repairing single- and two-handle Moen kitchen faucets across hundreds of residential jobs. faucitta specializes exclusively in faucets, showers, and bathroom fixtures — we test repair procedures against manufacturer specs and current U.S. lead-free (0.25% wetted-surface) and NSF/ANSI 61 drinking-water standards, and we always point you to the manufacturer’s warranty first before recommending a replacement.