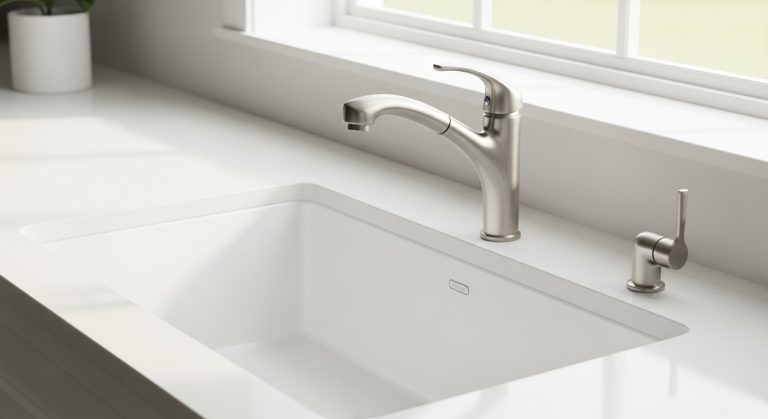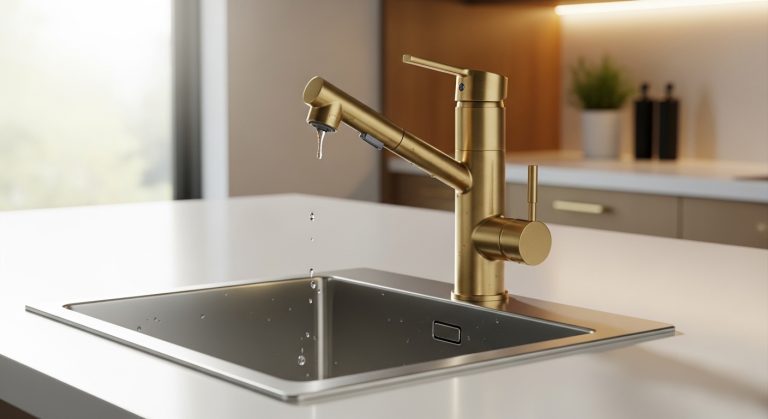
If your spray wand is dribbling, stuck in spray mode, or won’t clip back into the spout, a pull down kitchen faucet sprayer head replacement is the fix — and it’s one of the easiest repairs in the kitchen. The spray head is a wear part, just like a washer or an aerator. It threads onto the end of the pull-down hose, so in the vast majority of cases you can swap only the head and keep the faucet body, valve, and hose exactly as they are.
Below, I’ll walk you through when a new head is the right call, how to identify a compatible one, exactly how to install it, and the specific traps (mismatched threads, universal-fit myths, hard-water clogging) that cause people to buy the wrong part twice.
Can You Replace Just the Spray Head on a Pull-Down Faucet?
Yes — in most cases you can replace just the spray head, because it’s a separate threaded component, not part of the sealed faucet body. The wand you pull down is connected to a flexible hose by either a threaded coupling or a quick-connect fitting. Unscrew the head, screw on a compatible one, and you’re done.
Replacing only the head makes sense when the problem is at the wand itself: weak or split spray pattern, a button or lever that won’t toggle between stream and spray, mineral crust you can’t clean off, a cracked plastic housing, or a head that leaks where it meets the hose. These are all head failures. You’d only need to go further — replacing the hose or the whole faucet — if the leak is coming from inside the spout, the hose is cracked, or the internal cartridge/valve is failing (that’s a different repair, closer to a full faucet service).
One quick diagnostic: pull the wand out fully and run the water. If water sprays or drips from the hose above the head, it’s a hose or connector issue. If the trouble is only in how the head sprays, toggles, or seals at its own threads, a head swap solves it.
How Do I Know Which Replacement Sprayer Head Fits My Faucet?
The head has to match three things: the hose connector type/thread, the brand’s fit system, and the wand’s weight and length. Get those right and it works; guess and you’ll fight leaks or a wand that won’t retract.
There is no true “one-size-fits-all” pull-down spray head, despite what some listings claim. Here’s how to match yours correctly before you buy:
- Buy the brand’s OEM head first. Moen, Delta, Kohler, and most quality brands sell the exact replacement wand for your model. Find your faucet’s model number (often stamped under the spout, on the escutcheon, or on your original paperwork) and order that head. This is the single most reliable option.
- If you go universal, match the connector. Common thread sizes are around 15/16″-27, M15, or a proprietary quick-connect. Unscrew your old head and either measure the thread or take it to the store.
- Match the weight system. Pull-down wands retract because a counterweight on the hose pulls them back up. The replacement head must be a similar weight and shape so the wand still docks cleanly into the spout.
- Check spray modes. Decide whether you want stream + spray, or a head that adds a “boost/sweep” or pause function. More modes usually mean a slightly bigger head.
If you’re deciding between brands anyway, our guides to the best kitchen faucet brands in 2026 and real-world Huaake kitchen faucet reviews are useful for understanding which manufacturers make parts easy (and cheap) to source years later — that “will I be able to buy a replacement head in 5 years?” question matters more than people think.
What’s the Difference Between OEM, Universal, and Quick-Connect Sprayer Heads?
The short answer: OEM heads guarantee fit and finish match, universal heads are cheaper but need thread-matching (and sometimes an adapter), and quick-connect heads clip on without threading at all — but only work with quick-connect hoses. Here’s how they compare:
| Head type | Typical price | Fit certainty | Finish match | Best for |
|---|---|---|---|---|
| OEM (brand-specific) | $25–$60 | Exact — made for your model | Perfect | Anyone who knows their faucet model |
| Universal threaded | $12–$30 | Good if threads match | Close, not guaranteed | Discontinued faucets, budget fixes |
| Quick-connect (clip) | $15–$40 | Only fits quick-connect hoses | Varies | Faucets designed with quick-connect couplings |
| Full new faucet | $90–$400+ | N/A | New everything | Failing valve/hose, or you want an upgrade |
My honest recommendation for most people: try the OEM head first. The $10–$20 you’d save on a universal head evaporates fast if it leaks, the finish is a shade off, or the wand won’t dock. Universal heads shine when your faucet is discontinued and OEM parts no longer exist — that’s exactly what they’re for.
How Do You Replace a Pull-Down Kitchen Faucet Sprayer Head Step by Step?
Replacing the head takes about 10 minutes and usually needs no tools beyond your hands and maybe pliers. You don’t even have to shut off the water for the swap itself, though it’s smart to. Here’s the exact process:
- Turn off the supply (optional but recommended). Close the two shutoff valves under the sink so nothing sprays if the wand slips.
- Pull the wand out fully. Extend the hose so you have room to work over the sink.
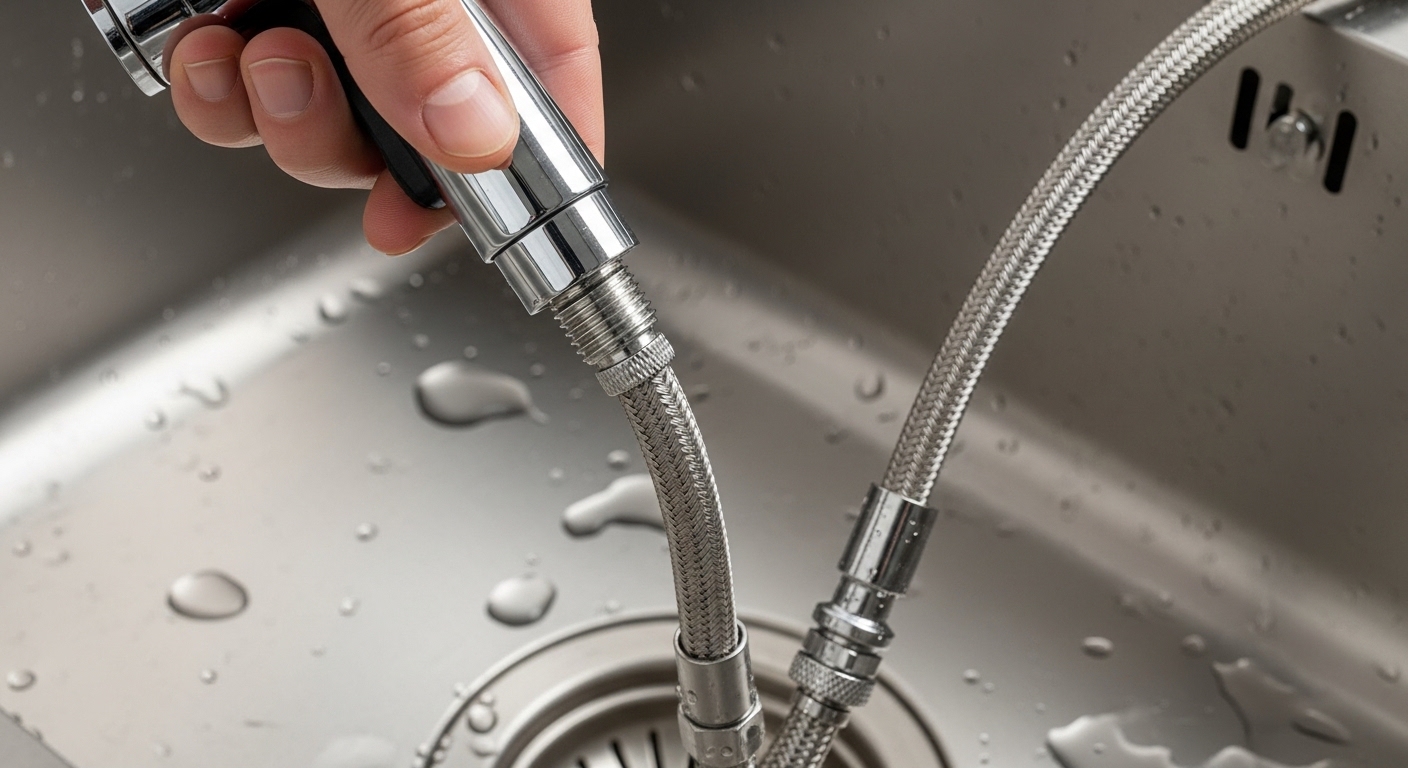
- Unthread the old head. Grip the hose coupling with one hand and turn the head counterclockwise. If mineral buildup has locked it, wrap the connector in a cloth and use slip-joint pliers gently — don’t crush the fitting.
- Detach from the hose weight if needed. Some heads pull free of a quick-connect; others fully unthread from the braided hose end.
- Inspect the connector. Clean off old plumber’s tape, debris, and any crumbling rubber washer. Replace the washer if the new head didn’t come with one.
- Wrap fresh PTFE tape. Two to three clockwise wraps on threaded connectors prevents the most common cause of post-swap leaks. Skip this on quick-connect fittings — they seal with an O-ring, not tape.
- Thread on the new head. Hand-tighten clockwise until snug, then a small nudge with pliers if it’s a threaded type. Don’t overtighten plastic threads — you’ll crack them.
- Restore water and test. Run both temperatures, toggle every spray mode, and watch the connector for drips. Then let the wand retract and confirm it docks flush into the spout.
If the wand doesn’t snap back up cleanly, the new head is either too heavy or too light for your counterweight, or the weight has slid on the hose — reposition the weight lower on the hose to increase retraction pull.
Why Does a Pull-Down Sprayer Head Fail in the First Place?
Most spray heads fail from mineral scale, worn internal seals, or a broken diverter button — and hard water is the number-one culprit. Understanding the cause helps you pick a head that lasts longer than the one it replaced.
Inside the head are tiny rubber nozzles (on the spray face) and a small diverter that switches between stream and spray. Calcium and magnesium from hard water crystallize on the nozzles, which is why your spray pattern goes crooked or weak. The same scale jams the diverter, so the button stops toggling. Rubber seals stiffen and shrink over years of hot/cold cycling, which causes leaks at the collar.
If you’re on hard water, this will keep happening no matter which head you buy — so treat the water problem too. Silicone-nozzle spray faces are the practical defense: you rub the rubber nubs with your thumb and the scale flakes right off. Our guide to the best fixtures for hard water explains the finish and cartridge choices that hold up to mineral-heavy supplies, and it applies just as much to kitchen spray heads. It’s also worth knowing your kitchen faucet’s flow rate — a clogged head can drop your effective GPM well below the 1.5–1.8 GPM a healthy pull-down should deliver, and that pressure drop is often the first sign scale is building up.
When Should You Just Replace the Whole Faucet Instead?
Replace the whole faucet when the hose is cracked, the internal cartridge leaks, the finish is peeling, or replacement heads for your model no longer exist. In those cases, a new head is throwing good money after bad.
Do the math honestly. An OEM head runs $25–$60. If your faucet is 12+ years old, discontinued, and also drips at the base, you could spend $50 on a head and still have a tired faucet. A solid mid-range pull-down runs $120–$250 and resets everything — hose, valve, finish, and warranty. Here’s a quick decision guide:
- Replace the head if: the faucet body is sound, the finish looks good, and only the wand sprays/toggles/seals poorly.
- Replace the hose or head + hose if: the leak is on the hose but the spout and valve are fine.
- Replace the whole faucet if: the cartridge leaks, the base wobbles, the finish is failing, or parts are unavailable.
If you land on a full upgrade, think about spout reach and spray style while you’re at it. Our breakdown of spout reach and sink sizing and, for smaller prep or bar setups, the single-hole faucet sprayer guide will help you buy a faucet whose parts are easy to service down the road — so your next head replacement is even simpler.
Author Note, Credibility & Standards
This guide was written by the faucitta fixtures team, drawing on hands-on installation and repair of pull-down kitchen faucets across dozens of brands and hardware generations. At faucitta.net, we sell and service kitchen and bathroom fixtures every day, so our advice reflects what actually holds up in real kitchens — not spec-sheet theory.
A note on standards and warranty: quality spray heads and faucets sold in North America are typically certified to NSF/ANSI 61 and 372 (safe for drinking water, low-lead) and meet flow limits under ASME A112.18.1 / CSA B125.1. Reputable brands back their faucets with limited lifetime warranties that often cover finish and function — check whether replacing a head with a non-OEM part voids that coverage before you buy universal. When in doubt, register your faucet and keep the model number handy; it turns every future repair into a five-minute part order.
FAQ
Are pull-down kitchen faucet spray heads universal?
No, not truly. While “universal” heads exist and fit many faucets via common thread sizes or adapters, connectors vary between brands and even models. Always match the thread size and weight, or buy the OEM head for your specific faucet model to guarantee a leak-free fit and proper wand retraction.
How much does it cost to replace a pull-down sprayer head?
A replacement head typically costs $12–$30 for a universal model and $25–$60 for a brand-specific OEM part. Because it’s a DIY job that takes about 10 minutes with no special tools, you usually pay nothing in labor — making it far cheaper than the $120–$400 of a full faucet replacement.
Why is my pull-down faucet head leaking where it connects to the hose?
That leak almost always means a worn washer/O-ring or missing plumber’s tape at the connector, not a failed faucet. Unthread the head, replace the rubber washer, wrap two to three clockwise turns of PTFE tape on threaded fittings (not on quick-connect O-rings), and reattach snugly. If it still leaks, the head threads may be cracked and the head needs replacing.
Why won’t my sprayer wand retract back into the spout after I replaced the head?
The new head is likely a different weight than the original, or the counterweight on the hose has shifted. Slide the counterweight lower on the hose to increase the retraction pull, and make sure the hose isn’t kinked or catching on the shutoff valves or drain pipe under the sink.
Do I need to turn off the water to replace a pull-down spray head?
Technically no, since the head threads onto the end of the hose past the valve — but it’s smart to shut off the two under-sink supply valves anyway. It prevents accidental spraying if the wand slips and lets you work calmly. Just open the faucet briefly afterward to release pressure before testing.
Can hard water damage a new sprayer head quickly?
Yes. Calcium and magnesium scale clog the spray nozzles and jam the stream/spray diverter, often within a year or two on hard water. Choose a head with silicone (rubber) nozzle nubs you can wipe clean, descale it periodically in white vinegar, and consider addressing your water hardness at the source for the longest head life.