Replacing a faucet stem is one of the most satisfying, high-payoff plumbing repairs a homeowner can do, because a worn stem is the single most common reason an older two-handle faucet drips no matter how hard you crank the handle. The stem is the valve inside each handle that rises and lowers a rubber washer against a seat to start and stop the flow. When that washer flattens, the stem threads strip, or the O-rings dry out, water sneaks past — and no amount of tightening will stop it. The good news: the part is cheap, the tools are basic, and once you’ve done it once you’ll never pay a service call for a drip again.
Below, we’ll walk through exactly how to identify your stem type, remove it without snapping anything, match the replacement correctly, and reassemble so it seals the first time. We’ll also cover the moments when a stem swap won’t fix the problem and you’re better off replacing the whole faucet.
What exactly is a faucet stem, and how do I know mine is the problem?
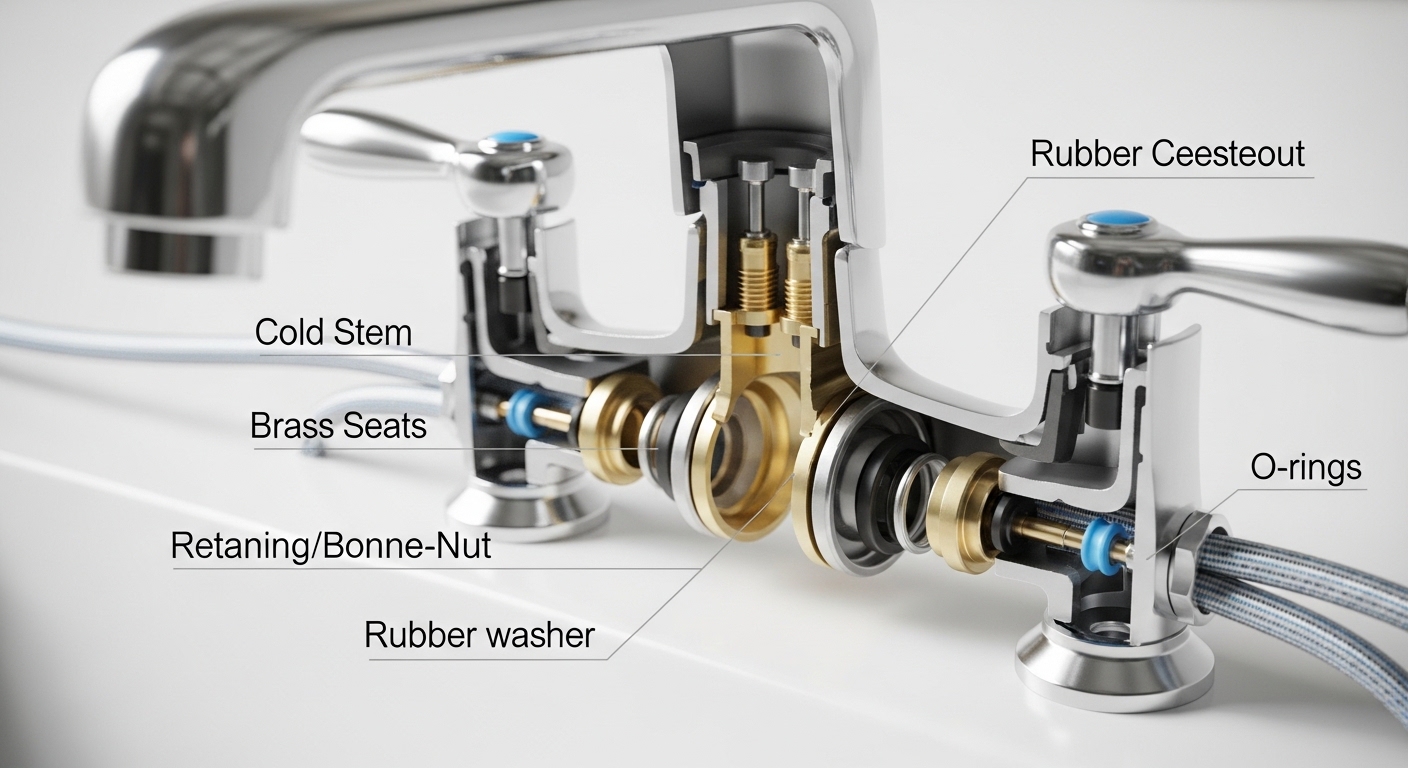
A faucet stem is the threaded cartridge-like valve inside each handle that pushes a rubber washer onto a brass seat to stop the water. You know it’s the culprit when the faucet drips from the spout after you’ve shut it off firmly, or when the handle feels loose, gritty, or has to be turned to a weird angle to stop the flow. Those are classic worn-stem symptoms.
There are a few families of stems, and knowing which you have saves you a wasted trip:
- Compression stems — found on older two-handle faucets. They rise and fall on threads and press a washer against a seat. These are the ones that drip most and are the easiest and cheapest to fix.
- Ceramic-disc / cartridge stems — newer two-handle designs use a quarter-turn ceramic cartridge instead of a rising washer. You still “replace the stem,” but you’re really swapping a sealed cartridge.
- Stem-and-seat combos — some brands (older Price Pfister, Central Brass) pair a stem with a replaceable seat you should change at the same time.
If your faucet is a single-handle unit, you don’t have stems at all — you have a single cartridge or ball assembly, which is a different repair. This guide is specifically about the two-handle, hot-and-cold-side stems.
Which tools and parts do I actually need before I start?
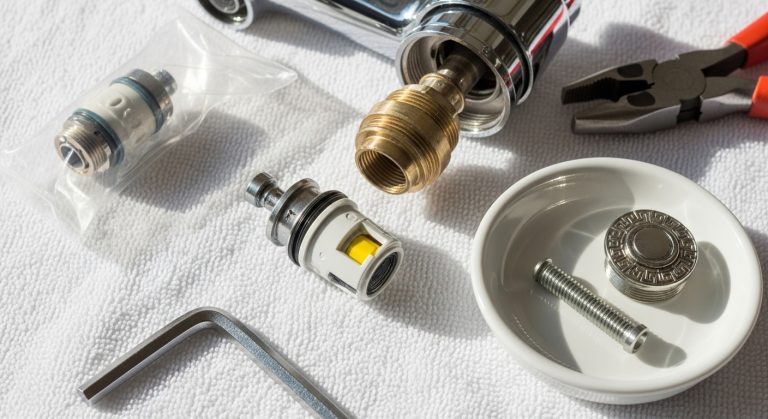
You need surprisingly little: an adjustable wrench, a flathead and Phillips screwdriver, a seat wrench (a cheap hex tool), plumber’s grease, and the exact replacement stem. The single most important “tool” is the old stem itself — you carry it to the store to match it. Don’t guess from a photo.
Here’s the realistic shopping and prep list:
- Adjustable wrench or a set of deep sockets for the bonnet/packing nut.
- A handle puller (a $10 tool) in case the handle is corroded on — for stubborn handles, this saves you from cracking the faucet body.
- Replacement stem, washers, and O-rings — buy the whole kit if it’s available for your model.
- Silicone-based plumber’s grease (never petroleum jelly, which degrades rubber).
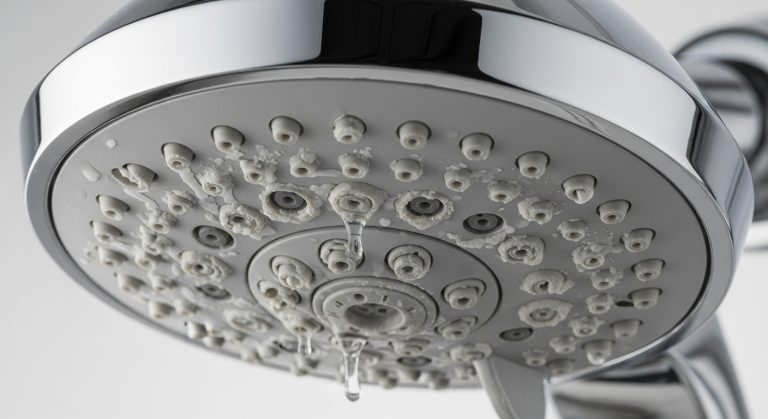
- White vinegar and a rag to clean mineral scale off the seat, especially if you’re on hard water.
- A towel and a small container to plug the drain so screws don’t disappear.
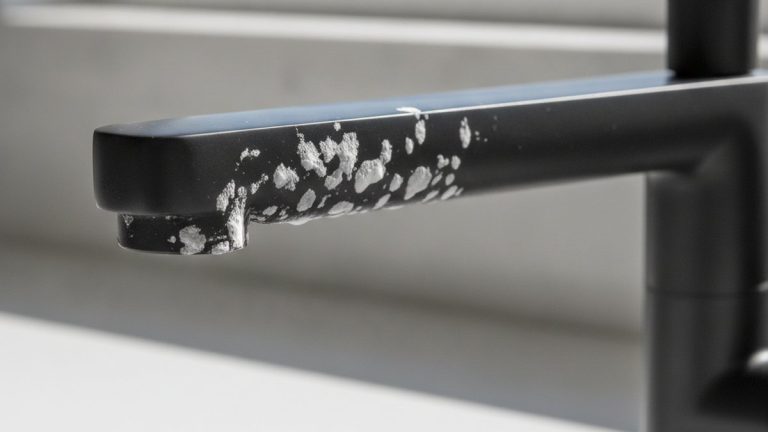
A quick word on hard water: if your area has heavy mineral content, your stems and seats corrode faster, and you’ll be doing this repair more often than someone with soft water. That’s worth knowing before you buy — some faucets simply hold up better to scale, which we cover in our guide to the best bathroom faucet for hard water.
How do I actually remove the old stem without breaking anything?
Shut off the water first, then work from the handle inward: cap, handle screw, handle, bonnet nut, stem. The order matters, and the number-one mistake is forcing a corroded nut with the water still on. Turn off the angle stops under the sink (or the main shutoff), then open the faucet to relieve pressure and drain the line before you touch anything.
Step by step:
- Shut off and drain. Close both under-sink supply valves. Open the faucet handles to let the remaining water run out. Plug the drain.
- Pop the decorative cap. Most handles have a small snap-in button (often marked H/C) hiding the screw. Pry it gently with a flathead or a fingernail.
- Remove the handle screw and handle. Unscrew it and lift the handle straight up. If it’s stuck, use the handle puller rather than levering it — prying cracks the base.
- Unscrew the bonnet/packing nut. With your adjustable wrench, turn counterclockwise. Hold the faucet body steady with your other hand so you don’t twist it in the wall or deck.
- Back the stem out. On compression stems you often thread the stem itself out by turning it counterclockwise like a screw. It should come free with the washer at the bottom.
If the bonnet nut won’t budge, soak it in penetrating oil or warm vinegar for 15 minutes and try again — never crank harder on a dry, seized brass nut, because you can snap it flush and turn a 30-minute job into a wall-opening ordeal. This “won’t turn” problem is common enough that we wrote a whole troubleshooting piece on it: what to do when your bathroom faucet valve is stuck and won’t turn.
How do I match the correct replacement stem so it seals the first time?
Take the old stem to the store and match it exactly — length, thread count, spline pattern at the top, and washer size all have to line up. Faucet stems are not universal; there are hundreds of variations, and one that’s a few threads off will either not seat or will leak from day one.
When matching, compare these five features against the replacement:
| Feature | What to check | Why it matters |
|---|---|---|
| Overall length | Tip of washer to top of splines | Too short won’t reach the seat; too long binds the handle |
| Thread count & pitch | Threads per inch on the body | Wrong pitch cross-threads and jams in the bonnet |
| Broach / spline count | Number of teeth where the handle attaches | Determines if your existing handle fits |
| Washer size | Bevel vs. flat, diameter (e.g., #00, #1) | Wrong washer drips even on a brand-new stem |
| Hot vs. cold | Left-hand vs. right-hand thread | Hot and cold stems are often mirror images — don’t swap them |
If you can find a full rebuild kit for your faucet’s brand and model, buy it. It usually includes the stem, matching washer, brass seat, and O-rings for a couple of dollars more — and replacing the seat at the same time is smart, because a pitted seat will chew through a fresh washer in weeks.
Should I replace the seat while I’m in there?
Yes, replace or reface the seat whenever it’s removable — it’s the surface the washer presses against, and a rough seat is the hidden reason a “new stem” still drips. Run a fingertip inside the seat; if it feels gritty or pitted, back it out with a seat wrench and install a matching new one, or use a seat-dressing tool to grind it smooth. This five-minute add-on is what separates a repair that lasts years from one that fails in a month.
How do I reassemble everything so it doesn’t leak?
Grease the new stem’s threads and O-rings with silicone plumber’s grease, thread it in by hand first, then snug it with the wrench — firm, not gorilla-tight. Over-tightening the bonnet nut is a leading cause of a stiff handle and a fresh leak, because it distorts the washer or O-ring you just installed.
Reverse your teardown order:
- Coat the O-rings and threads with silicone grease so the stem turns smoothly and the seals don’t tear on install.
- Thread the stem in by hand, then hand off to the wrench for a final quarter turn — you want snug, not crushing.
- Reinstall the bonnet/packing nut, holding the faucet body steady.
- Seat the handle onto the splines, reinstall the screw, and snap the cap back on.
- Turn the supplies back on slowly, then run hot and cold to check for drips at the spout and weeps at the base.
Turn the water on gradually — a sudden surge can blow a seal or send trapped air hammering through the line. Let each side run for a minute and watch the spout after you shut it off. A dry spout and a smooth handle mean you nailed it.
When is replacing the faucet stem NOT the right fix?
Skip the stem repair and replace the whole faucet when the faucet body itself is cracked, the seats are non-removable and corroded, or the fixture is so old that parts are discontinued. At that point you’re pouring good money into a dead-end, and a modern faucet will pay you back in reliability and water savings.
Here’s a quick decision guide:
| Situation | Repair the stem? | Better move |
|---|---|---|
| Drip from spout, faucet body solid | Yes — cheap and fast | Replace stem + washer + seat |
| Leak from the base of the faucet | Maybe — O-rings first | Replace O-rings; if body is cracked, replace faucet |
| Stems/seats corroded and non-removable | No | Replace the faucet |
| Parts discontinued (30+ year fixture) | No | Upgrade to a current model |
| Chronic hard-water scaling | Short-term only | Replace with a scale-resistant faucet |
If you land on “replace the faucet,” the stem repair skills you just learned transfer directly to swapping supply lines and connections. Our step-by-step on how to replace bathtub faucet plumbing without flooding the bathroom covers the same shut-off-and-drain fundamentals for a bigger job. And if your drip is actually an outdoor spigot rather than an indoor faucet, the fix is usually a simple part swap covered in our guide to the outdoor faucet washer.
How long does a replaced faucet stem last, and can I prevent the next drip?
A properly matched stem with a fresh washer and a smooth seat typically lasts 5–10 years, and you can stretch that by using silicone grease on the seals and not over-tightening the handles. The habit of cranking a handle “just a little harder” is what wears washers out early — turn to snug and stop.
Prevention basics:
- Turn handles firmly but gently; the washer only needs light contact to seal.
- If you’re on hard water, descale the aerator and stems periodically with vinegar to slow corrosion.
- Keep a spare washer/O-ring kit on hand — the parts cost a few dollars and outlast the packaging.
- When one side drips, inspect the other; the second stem is usually not far behind.
FAQ
How much does replacing a faucet stem cost if I do it myself?
DIY, expect $5–$15 for the stem and washers, or up to $25 for a full rebuild kit that includes the seat and O-rings. A plumber would charge $100–$200 for the same visit, so this is one of the highest-value repairs you can do yourself in under an hour.
Are faucet stems universal, or do I need an exact match?
They are not universal. Length, thread pitch, spline count, and washer size vary by brand and model, so you must match the old stem exactly — ideally by carrying it to the store. Buying by brand alone often gets you a stem that looks right but won’t seat.
Why does my faucet still drip after I replaced the stem?
Almost always the seat: the brass surface the washer presses against is pitted or scaled, so it chews up even a brand-new washer. Replace or reface the seat, confirm the washer size is correct, and don’t over-tighten the bonnet nut — all three can cause a lingering drip.
Can I replace just one stem, or should I do both hot and cold at once?
You can replace just the leaking side, but if the faucet is old it’s smart to do both. The hot side often wears faster from heat, yet the cold side is usually the same age, so doing both now saves a second teardown in a few months.
Do I need to turn off the main water supply, or just the sink valves?
The under-sink shutoff valves (angle stops) are enough for most faucets — close both, open the handles to drain, and you’re set. Use the main shutoff only if the local valves are seized or missing, which is common in older homes.
What’s the difference between a stem and a cartridge?
A stem is the compression valve in older two-handle faucets that raises and lowers a washer; a cartridge is a sealed unit (common in single-handle and modern two-handle faucets) that you swap whole. If your faucet is quarter-turn or single-lever, you’re likely replacing a cartridge, not a stem.
Author note: This guide was written by the faucitta fixtures team, drawing on hands-on repair testing of two-handle compression and ceramic-disc faucets across a range of hard- and soft-water conditions. About faucitta: faucitta.net specializes in faucets, showers, and bathroom fixtures, and every product we stock is pressure- and cycle-tested to meet ASME A112.18.1 / NSF 61 plumbing standards, with manufacturer warranties on cartridges and finishes. When we recommend a repair over a replacement — or vice versa — it’s based on how the parts actually hold up over years of real use, not on making a sale.